Back‑Button Focus: the magical trick that makes fast‑moving photography SO much easier! | by Elodie Meyer
Explained simply, but useful enough for a pro!

How cameras normally focus
When you use your camera straight out of the box, it usually works with the shutter button, like this:
You press the shutter button halfway → the camera focuses.
You press it all the way down → the camera takes the picture.
Simple, right? If you’re not sure, now is the time to take your camera and try to press halfway, realize that the camera focuses at the moment, and then the camera takes the photo when you push the button all the way down. But here’s the problem…
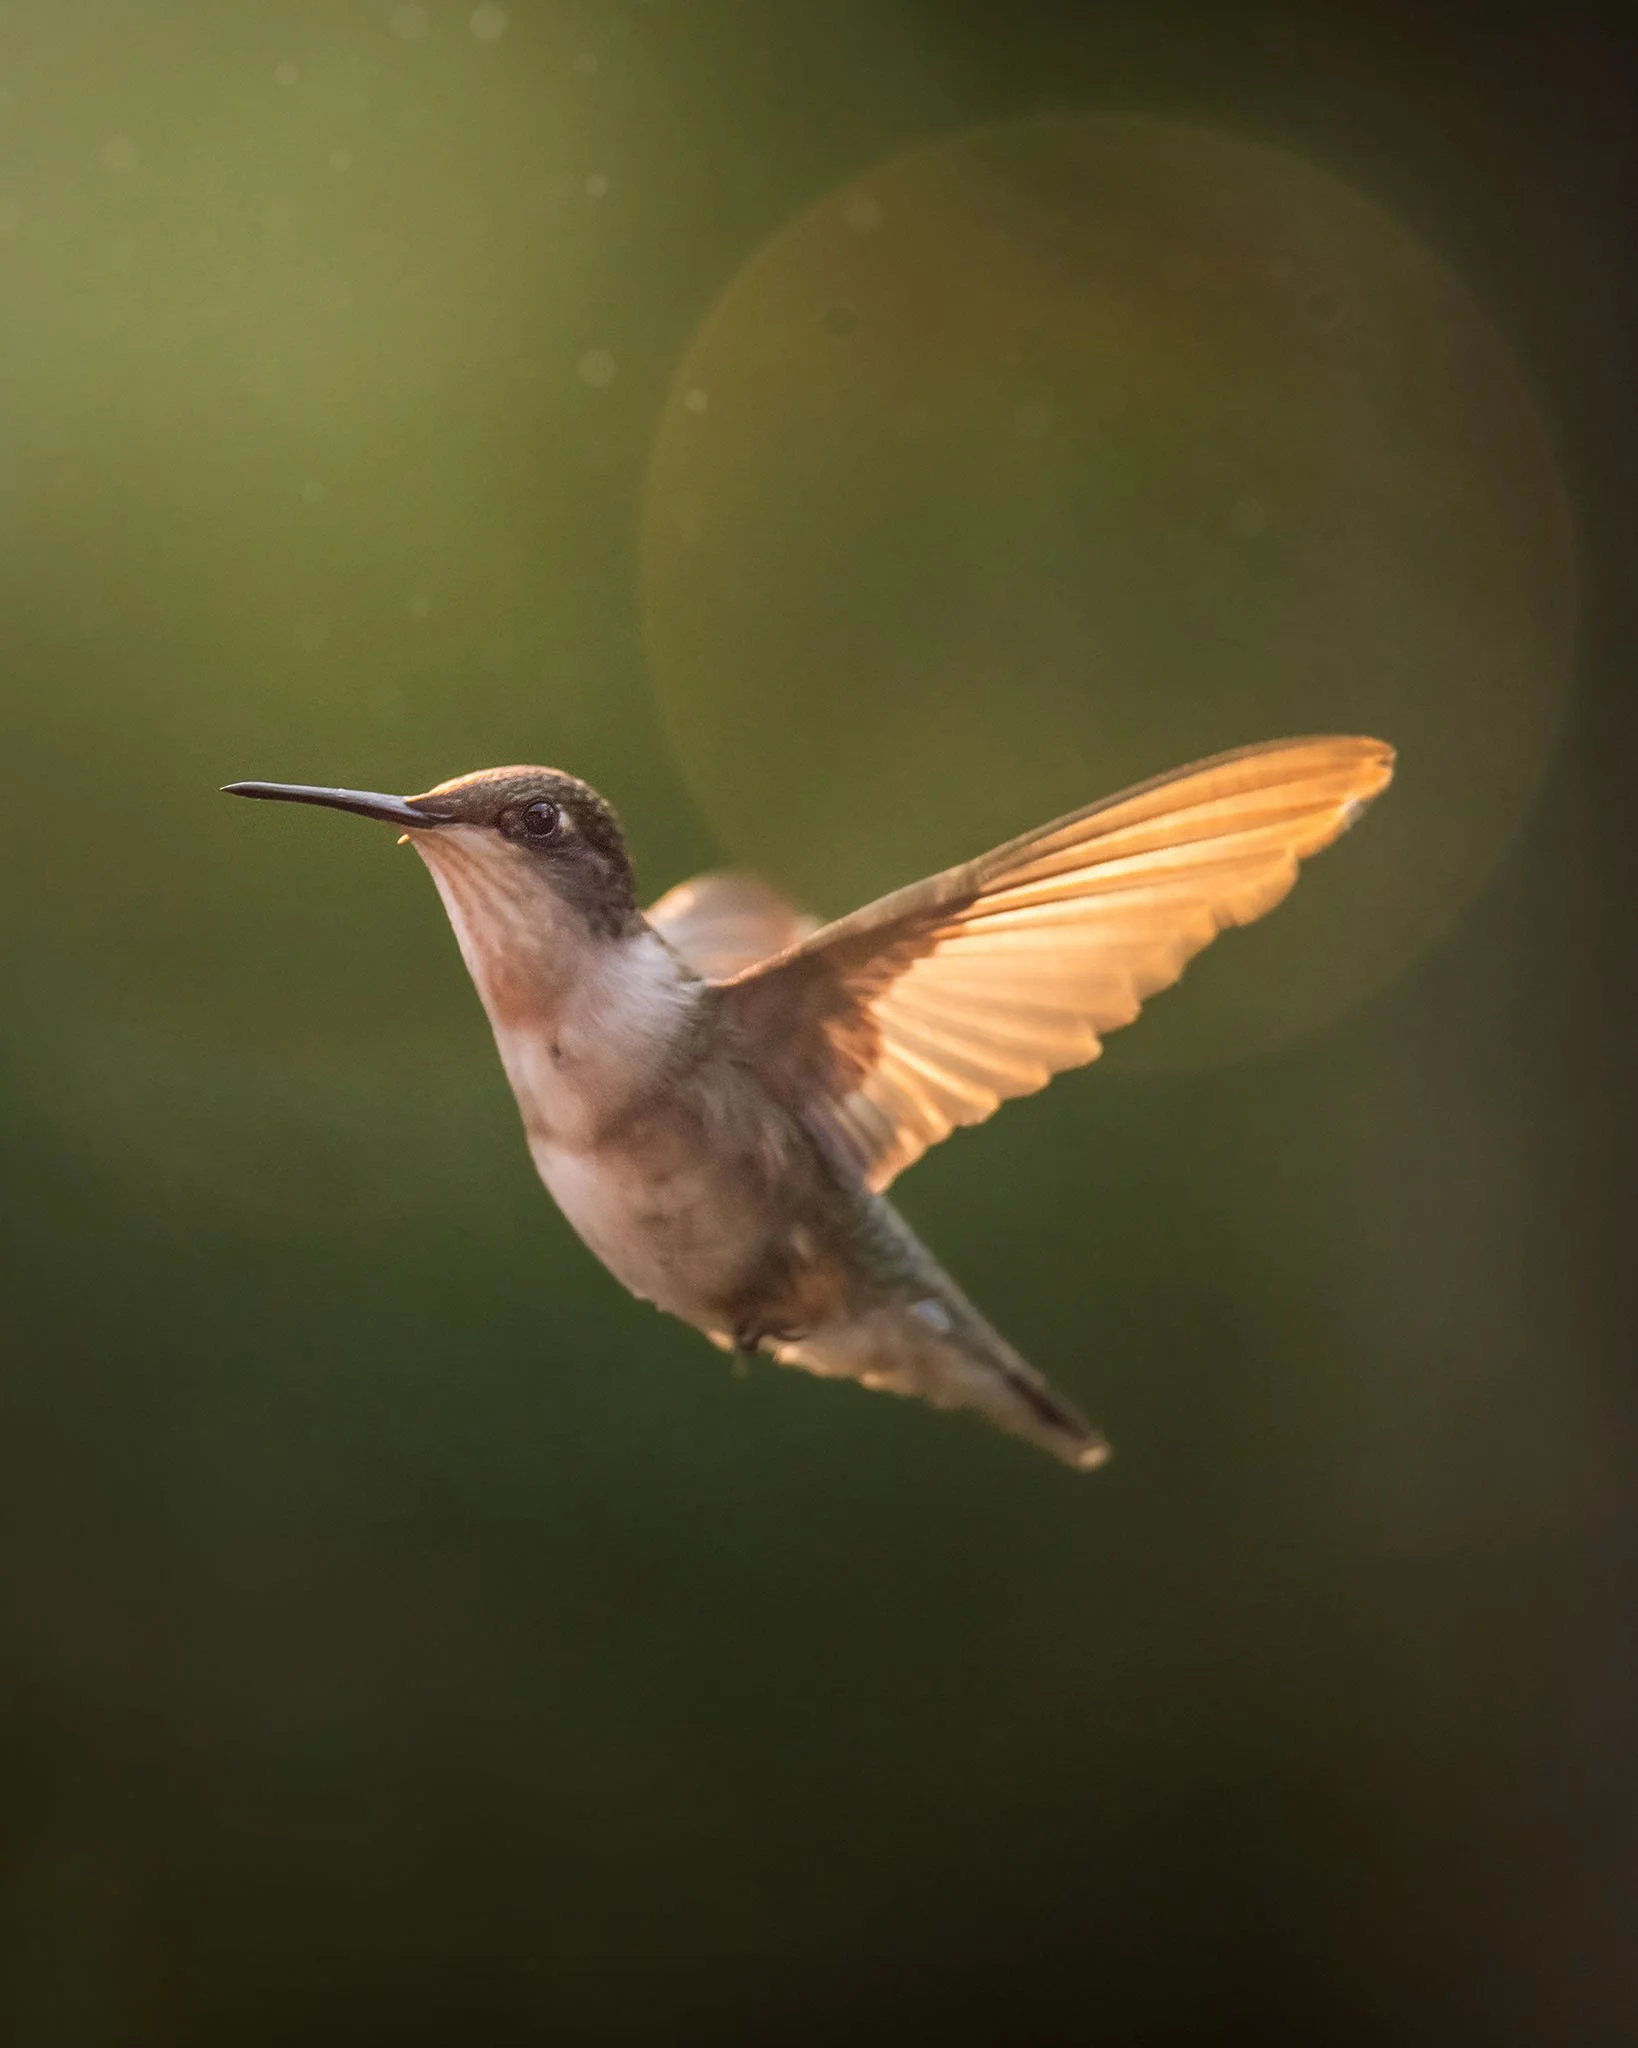
Imagine trying to photograph a hummingbird zipping around, a fox running, your child spinning on a playground or your dog racing toward you … Every time you lift your finger even a tiny bit, the camera loses focus and has to start over. So frustrating!
Enter Back‑Button Focus (BBF): your new superpower!
Back‑button focus separates focusing and taking the picture into two different buttons. Why does that matter? Because when things move fast — wildlife, kids, dogs, birds, sports — your camera needs to keep focusing continuously, and back‑button focus makes that WAY easier.
Back‑button focus changes the rules:
One button on the back of the camera is used for focusing.
The shutter button is used only to take the picture.

This means:
You can hold focus on your subject as long as you want.
You can track moving subjects without the camera stopping or restarting focus.
You can take as many photos as you want without refocusing every time.
You can stop focusing instantly by lifting your thumb.
It’s like giving your camera two separate jobs instead of one overloaded job!
Why Back‑Button Focus is AMAZING for wildlife photography
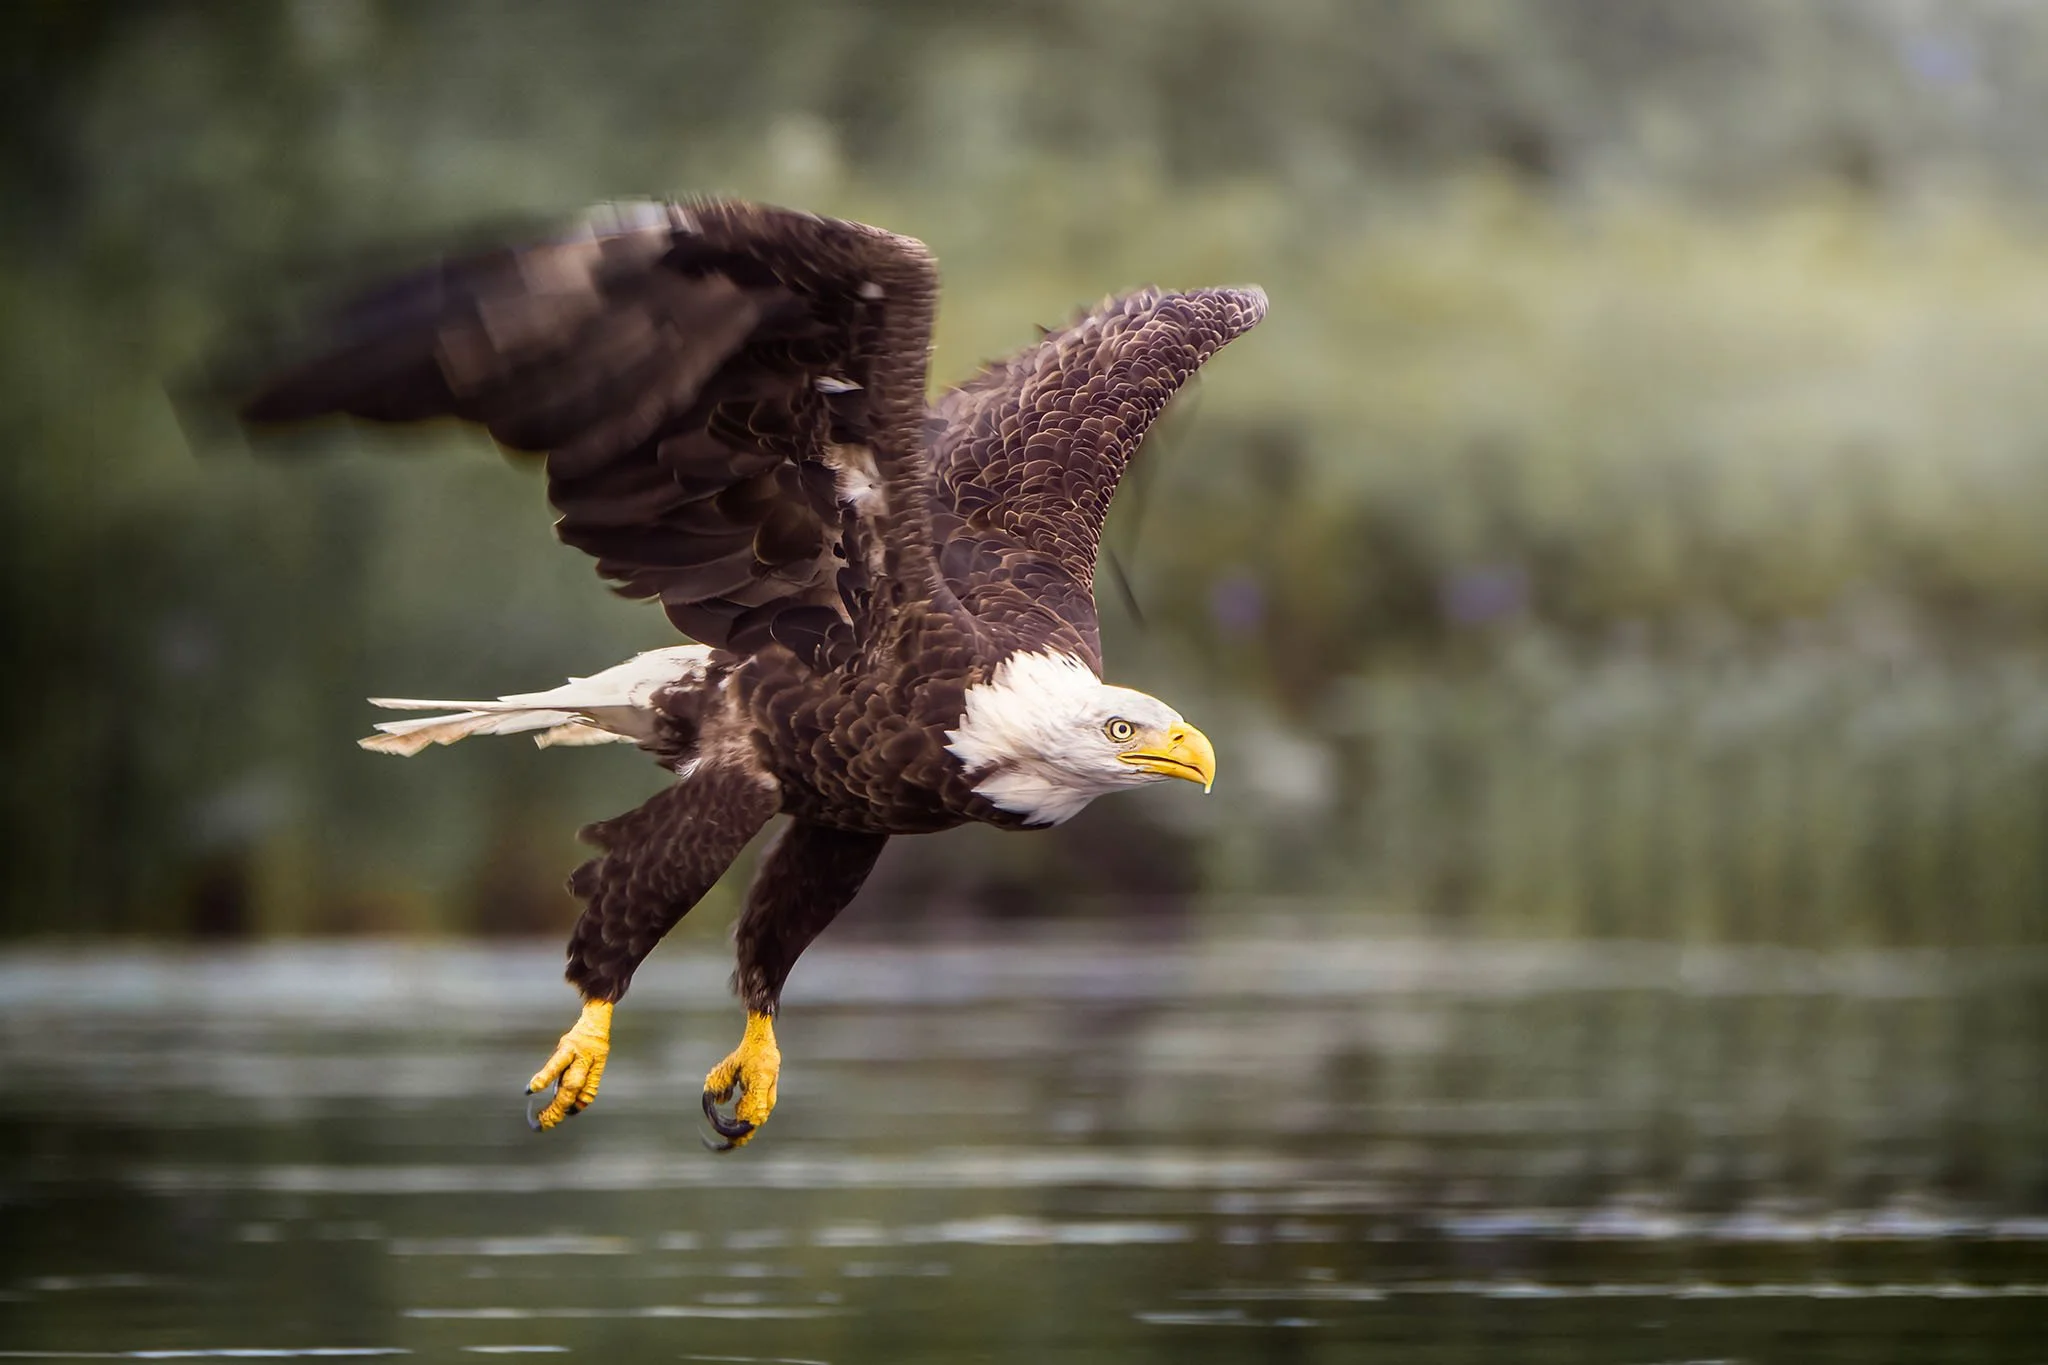
Wild animals don’t wait for you. They jump, fly, run, twist or disappear in a few seconds!
Back‑button focus lets you:
lock onto a moving animal and keep tracking it
shoot bursts without losing focus
recompose without the camera refocusing on the wrong thing
react faster when something suddenly happens
It’s the difference between “Oh no, I missed it” and “YES, I GOT IT!”
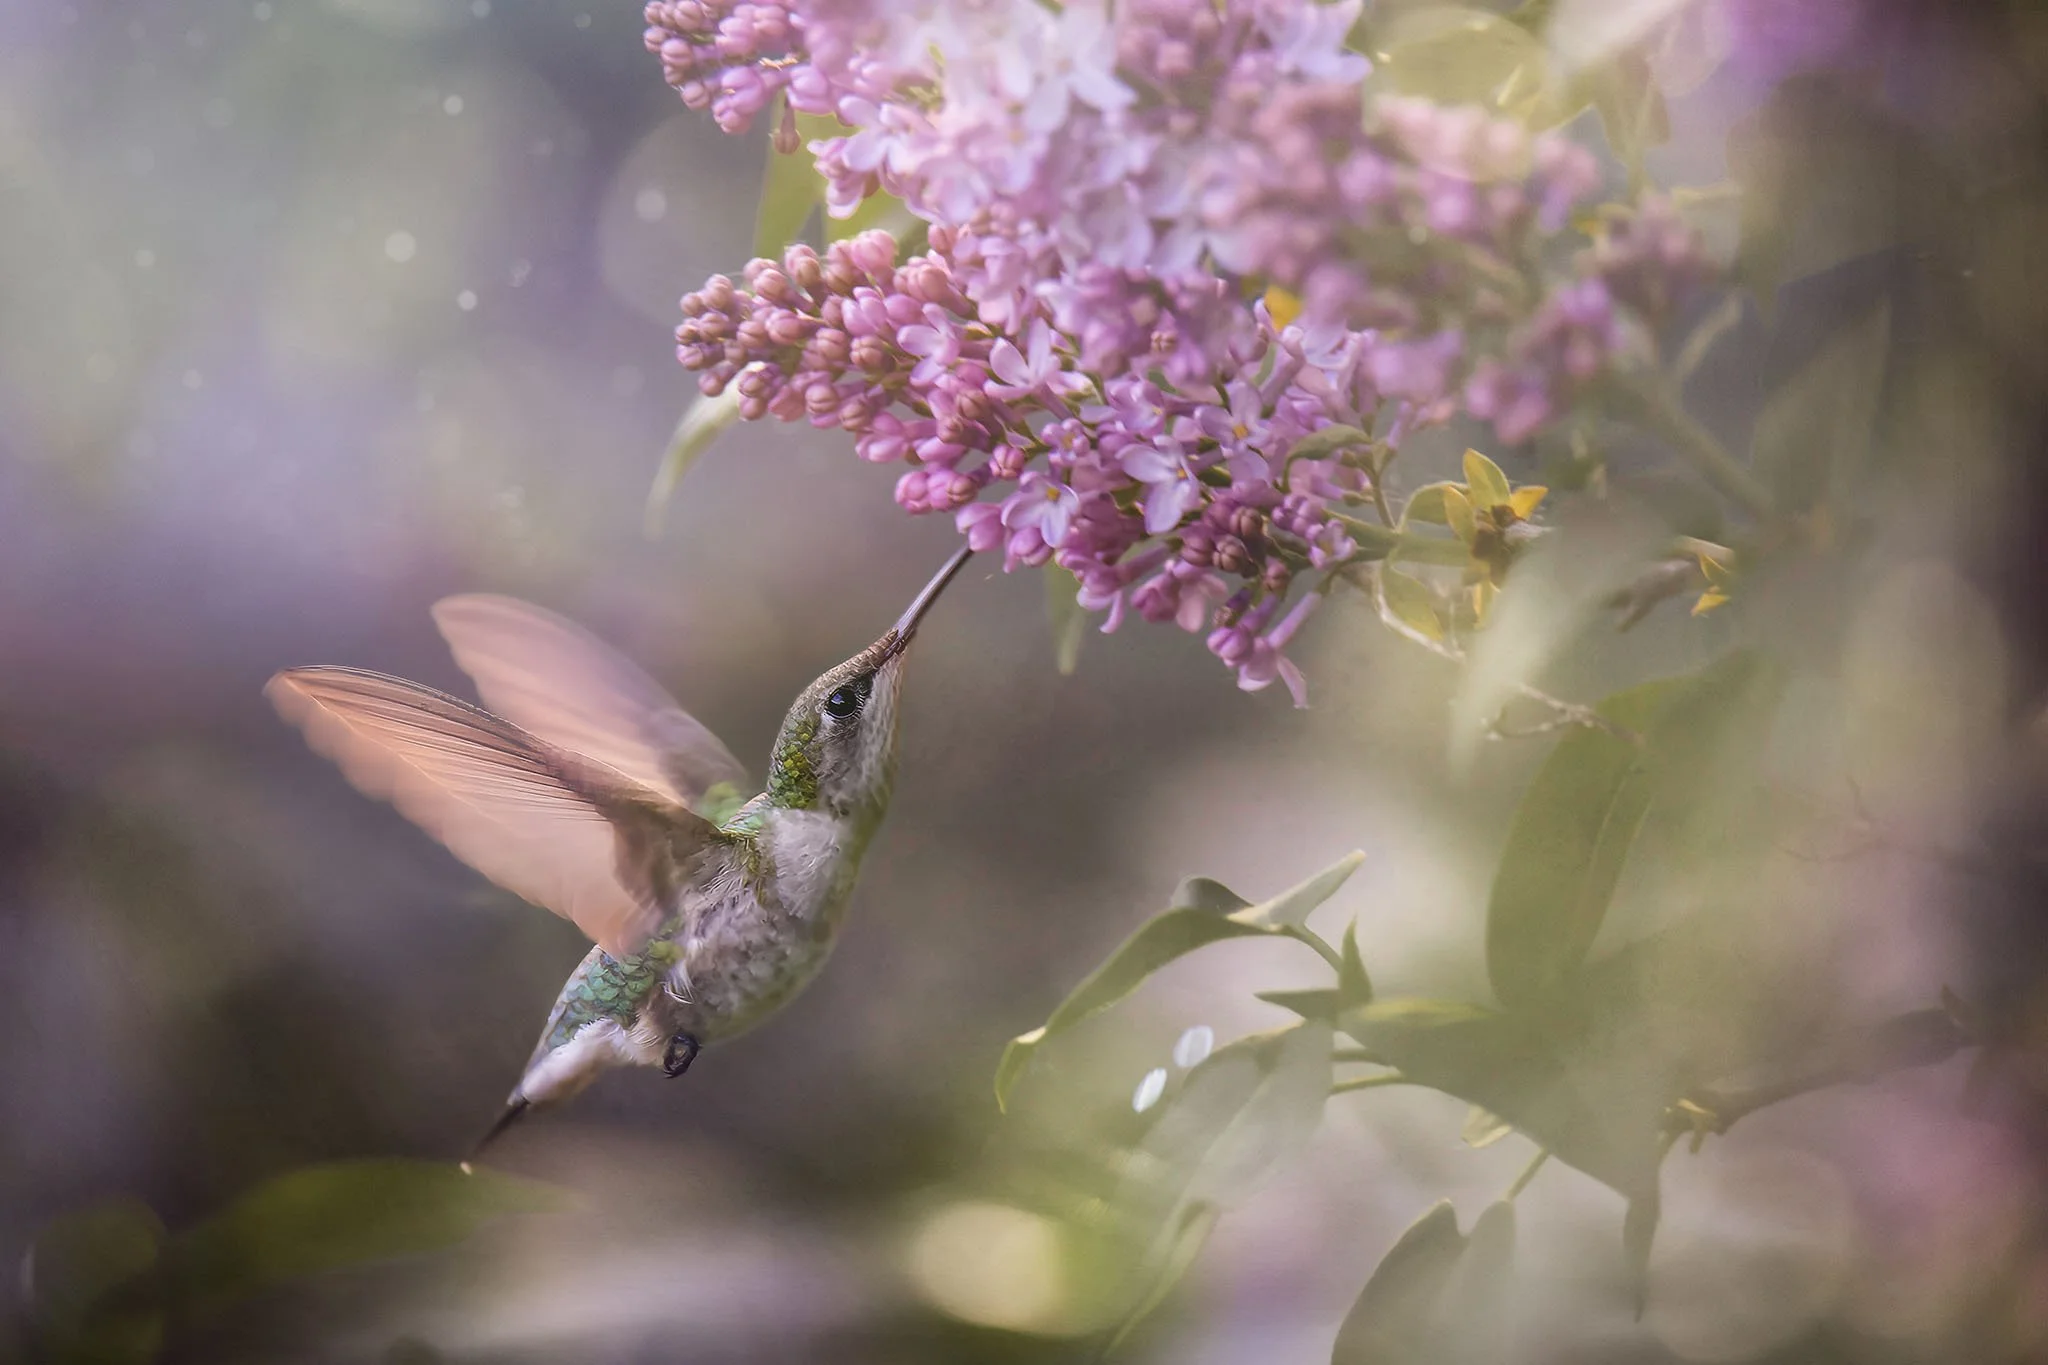
(by the way, you can find the editing video of this image here)
Why it’s also perfect for photographing kids
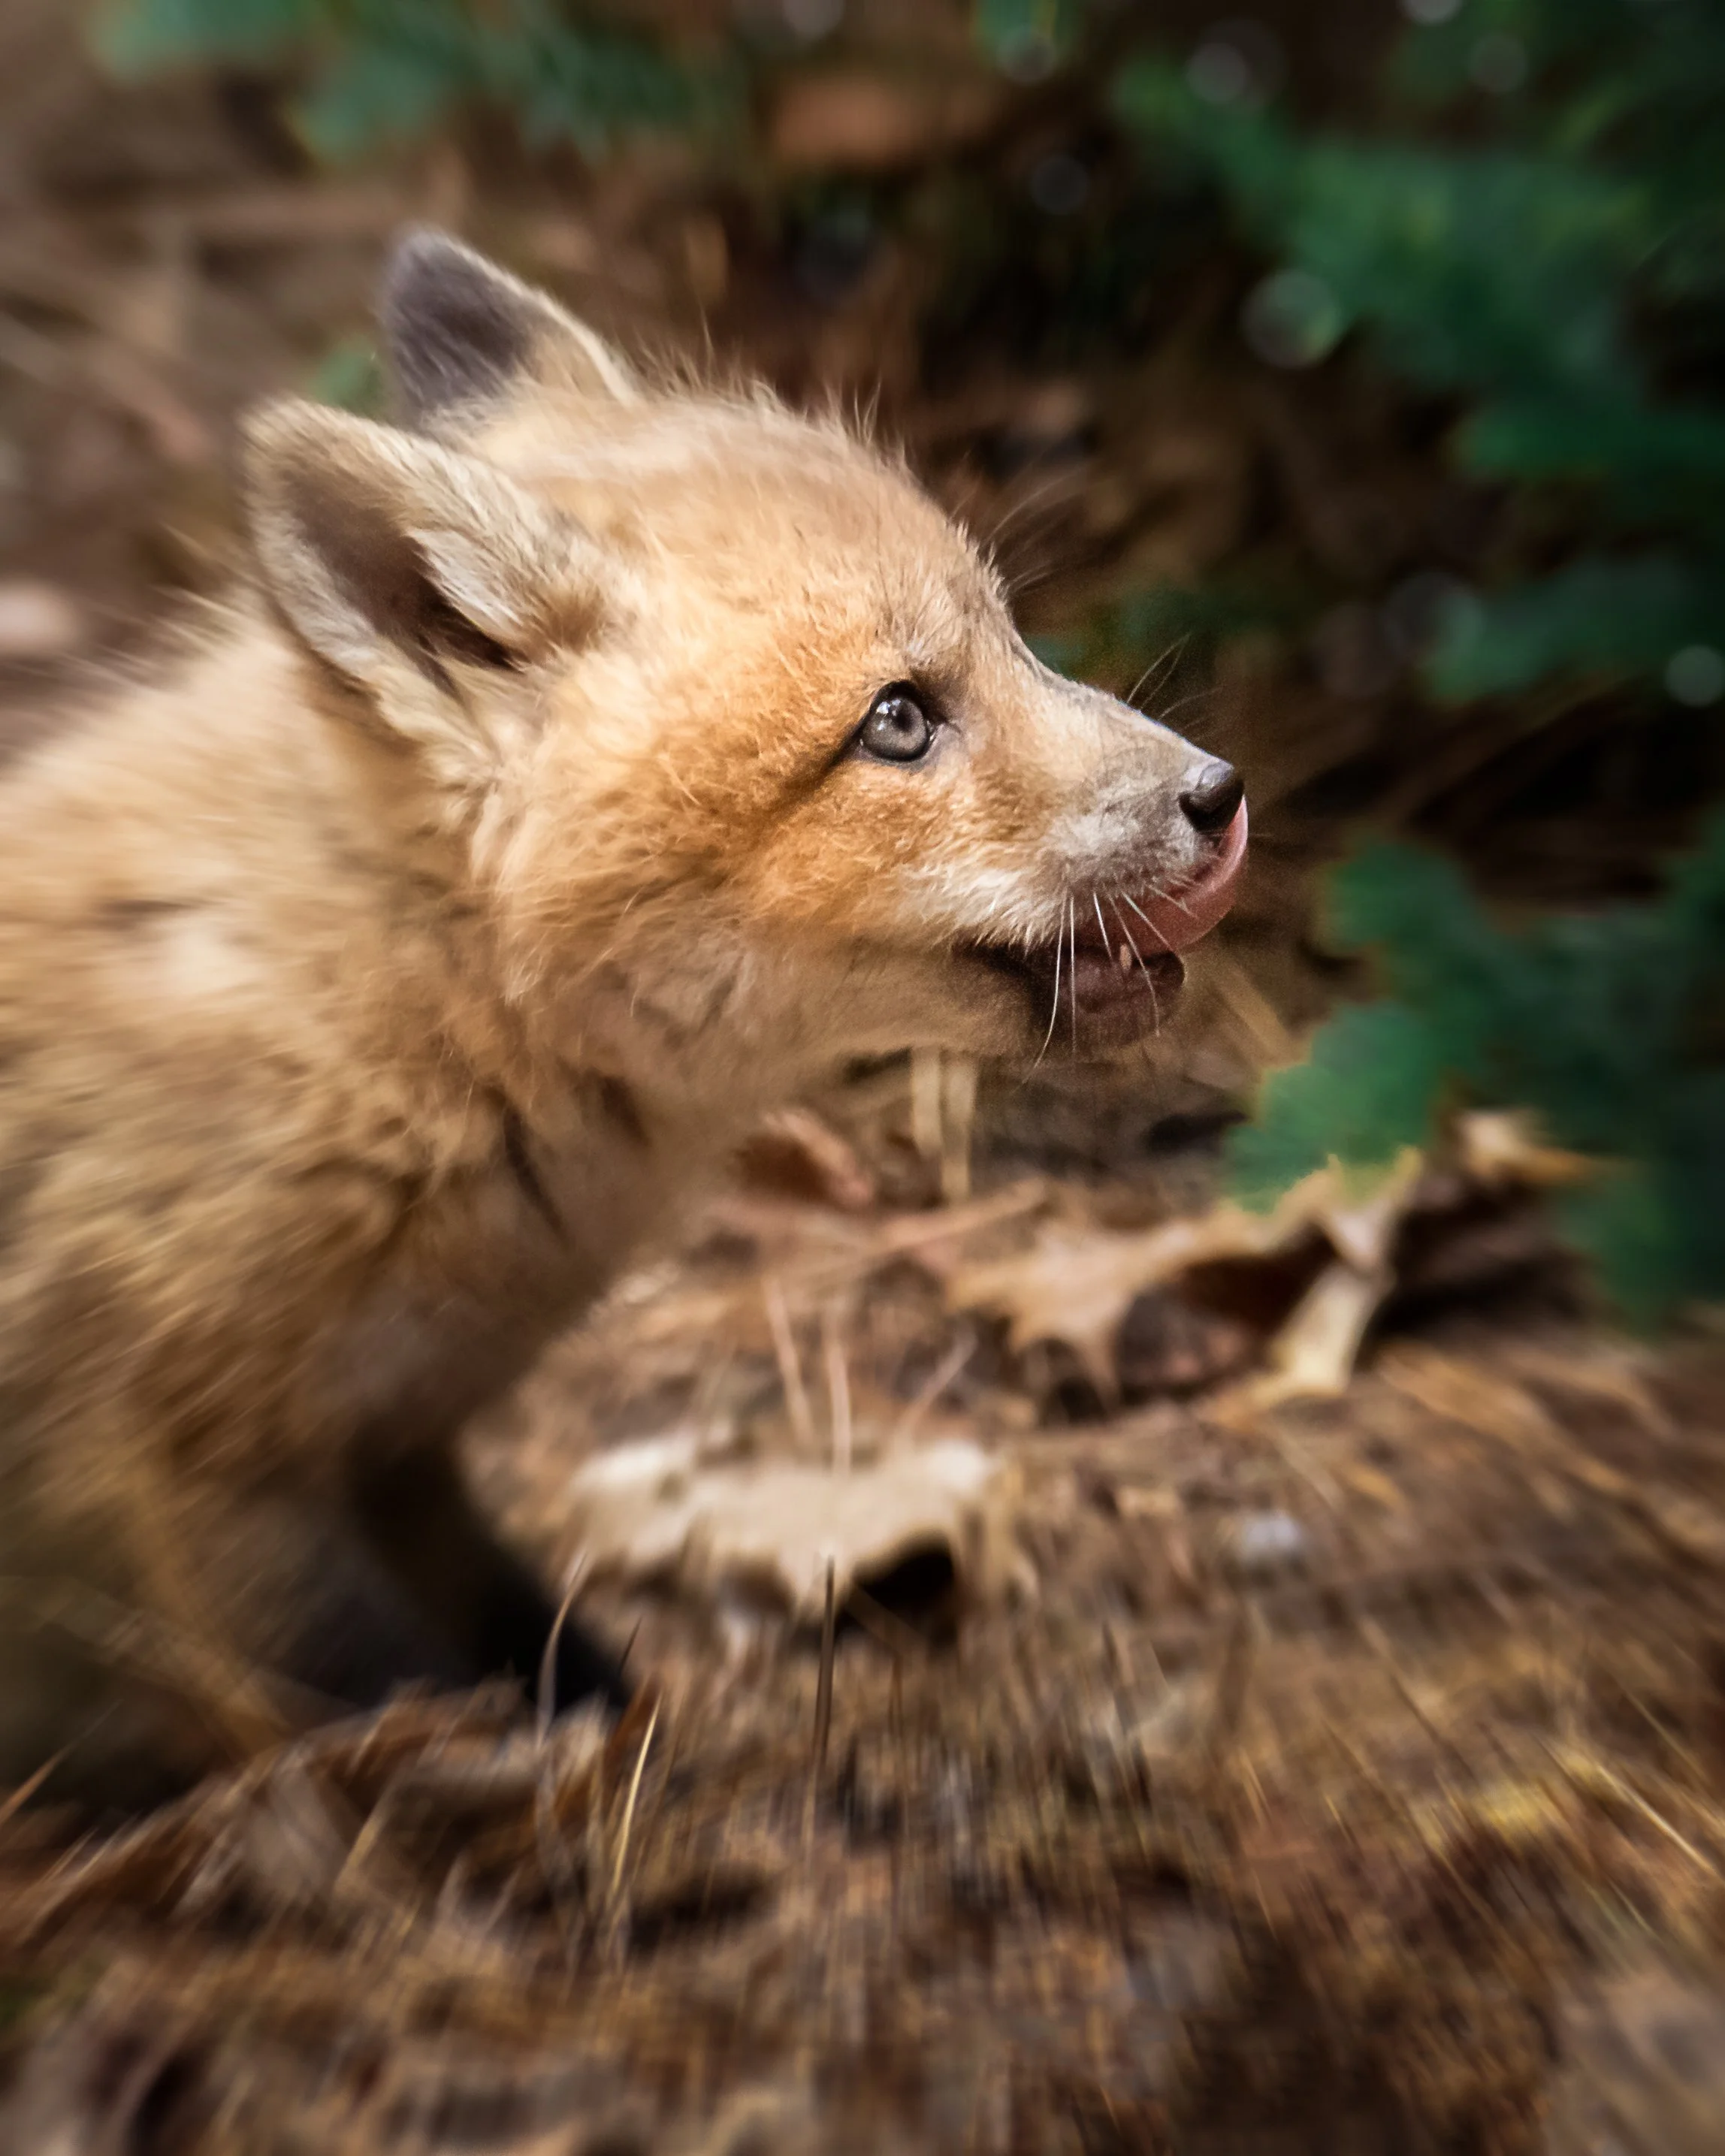
Young kids are basically tiny wild animals. They wiggle, jump, run, spin, change direction without warning!

Back‑button focus helps you:
keep focus on their face
follow them as they move
shoot freely without refocusing every time
stay ready for the next moment
It makes photographing kids feel less like chaos and more like magic.

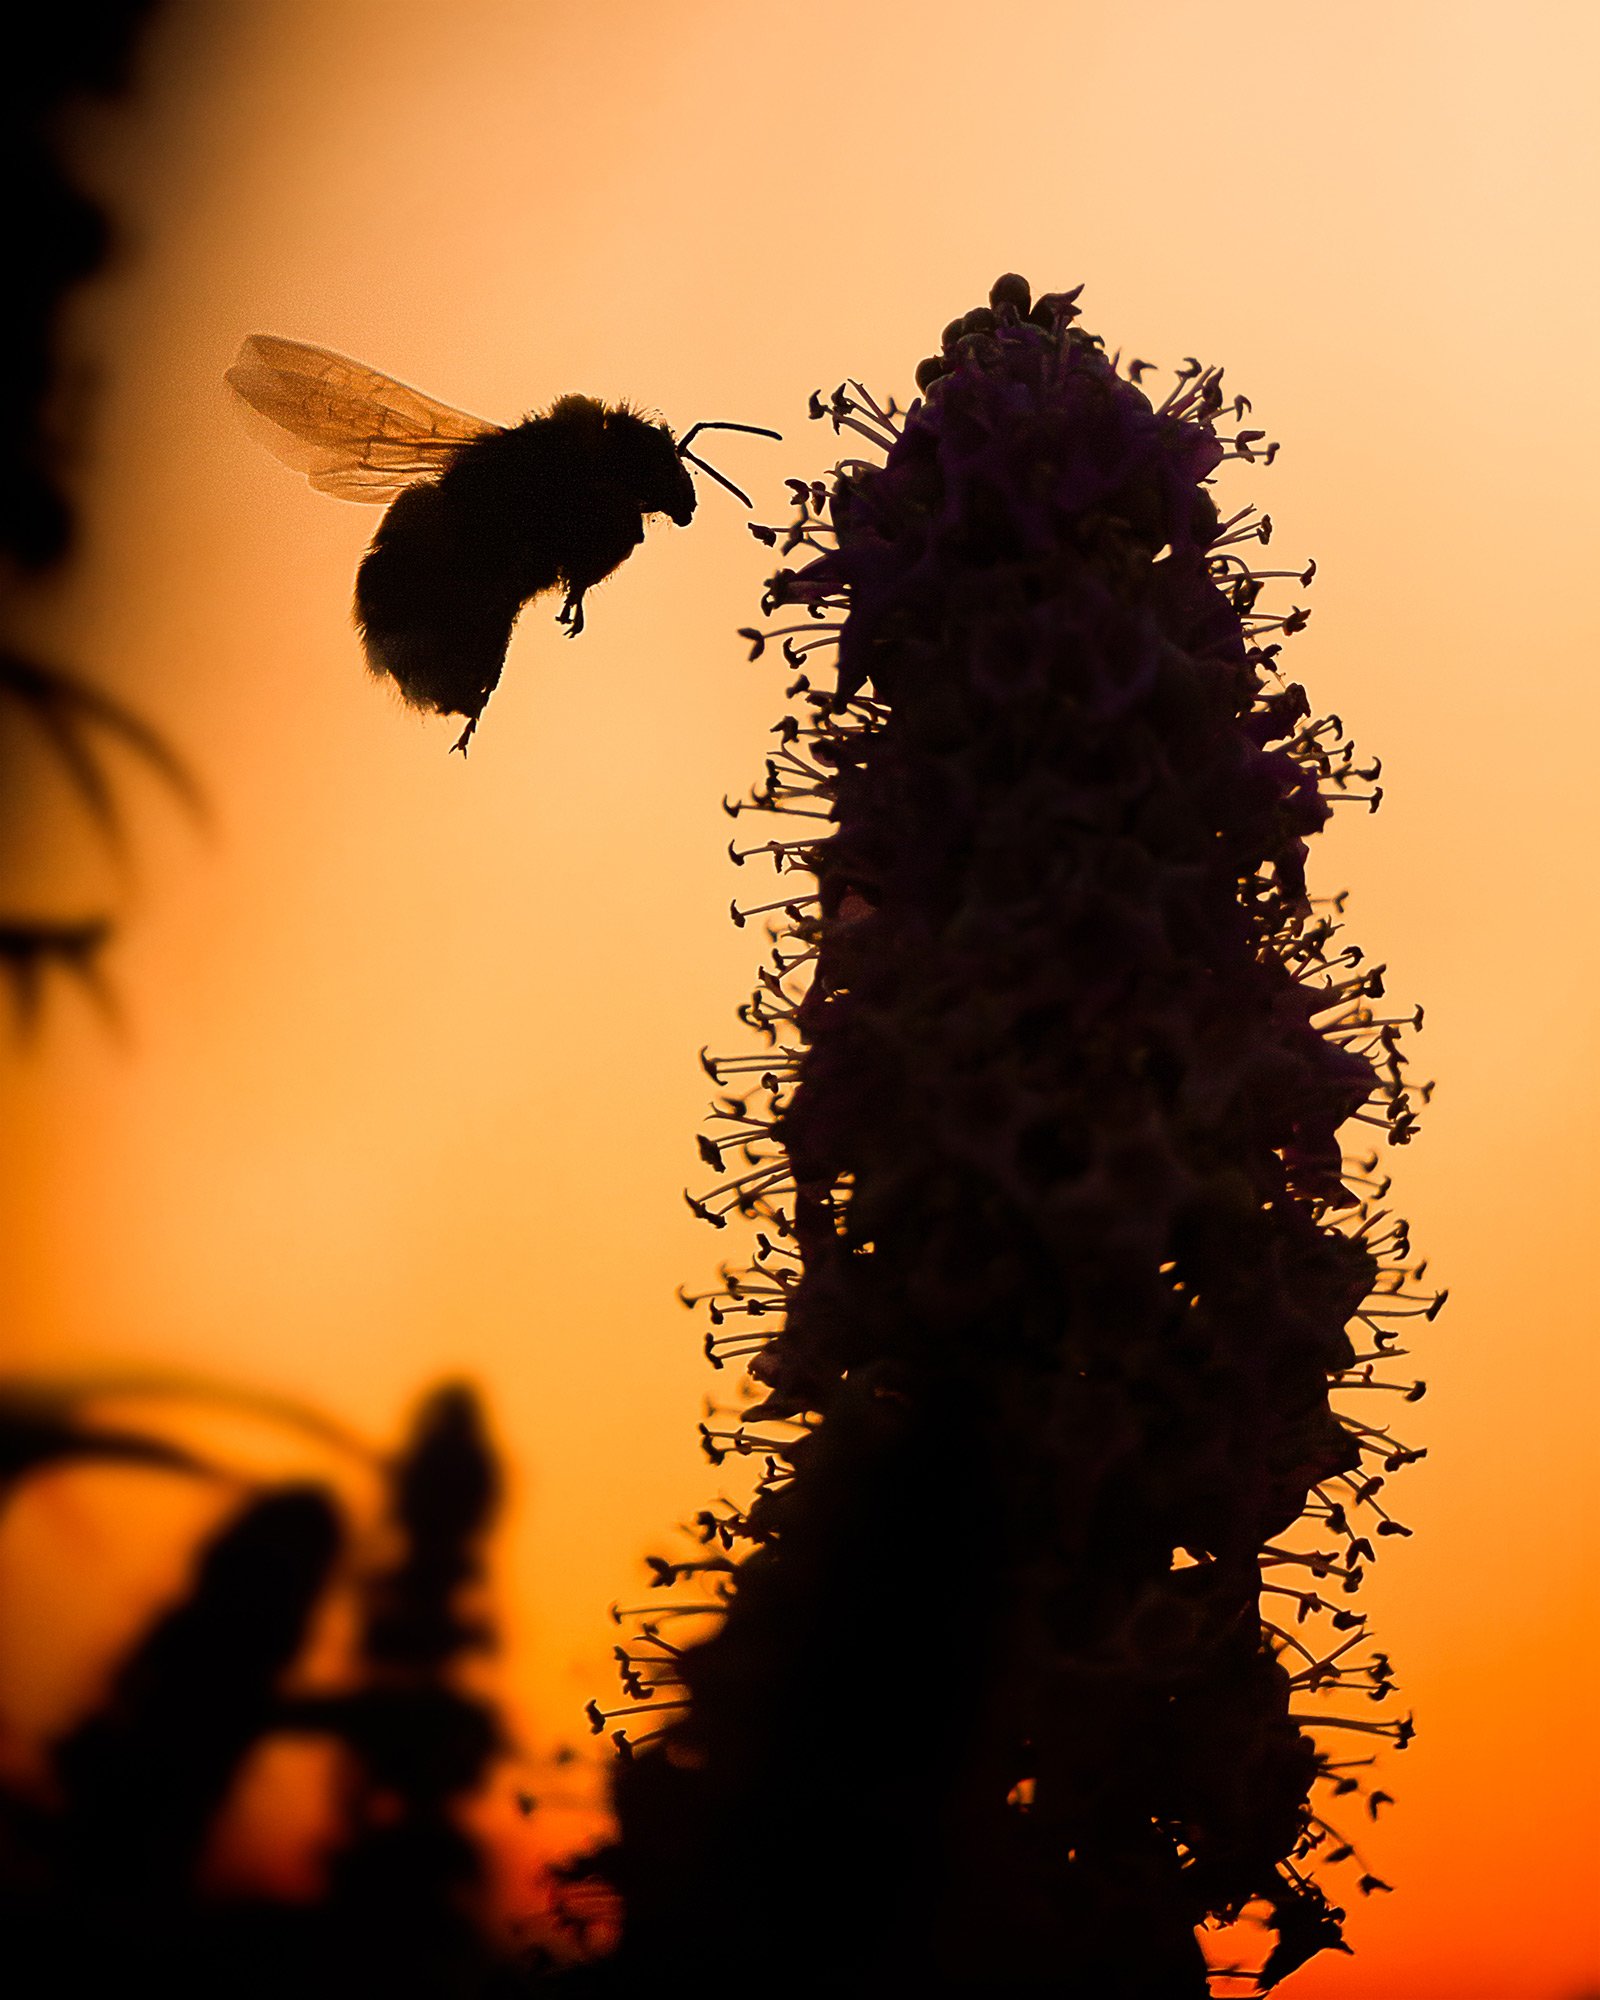
(by the way, you can find the BTS of this image in my course « Creative Light » here)
Why You’ll Fall in Love With Back‑Button Focus
Because suddenly:
your photos are sharper
your reaction time is faster
your camera feels easier to control
you miss fewer moments
you feel more confident
It’s one of those tiny changes that makes a HUGE difference.
Are There Any Disadvantages to Back‑Button Focus?
Even though back‑button focus is amazing for fast‑moving subjects, it’s fair to say it comes with a few tiny quirks. The biggest one is simply getting used to it. At first, your thumb and finger might feel like they’re learning a new dance routine — focus with the thumb, click with the finger — and you might forget which button does what.
Also, if you’re wearing thick gloves (hello winter in Canada!), reaching the AF‑ON button might feel a bit awkward at first.

But here’s the good news: after a few minutes of practice, your brain adapts beautifully, and those little disadvantages disappear. Most photographers who try it end up wondering how they ever lived without it!
How to set up Back‑Button Focus: (Canon, Nikon, Sony — step‑by‑step)
📸 Canon Cameras (EOS R, R5, R6, 5D, 7D, Rebel series)
Press MENU.
Go to the Custom Functions or AF menu.
Find “Shutter/AE Lock Button” or “Custom Controls.”
Set AF‑ON to “Metering + AF Start.”
Set the Shutter Button Half‑Press to “Metering Only.”
Press AF‑ON with your thumb to focus.
Press the shutter button to take the picture.
📸 Nikon Cameras (Z series, D750, D850, D500, etc.)
Press MENU.
Go to Custom Settings Menu (the pencil icon).
Choose a Autofocus.
Select “AF Activation.”
Choose “AF‑ON Only.”
Make sure the AF‑ON button is enabled.
Use your thumb on AF‑ON to focus.
📸 Sony Cameras (A7, A9, A1, A6000 series)
Press MENU.
Go to the AF/MF or Custom Key Settings menu.
Find “AF‑ON Button” and make sure it’s set to AF‑ON.
Go to “Shutter AF” and turn it OFF.
Use AF‑ON with your thumb to focus.
For other models, a quick internet research will give you the right settings :-).
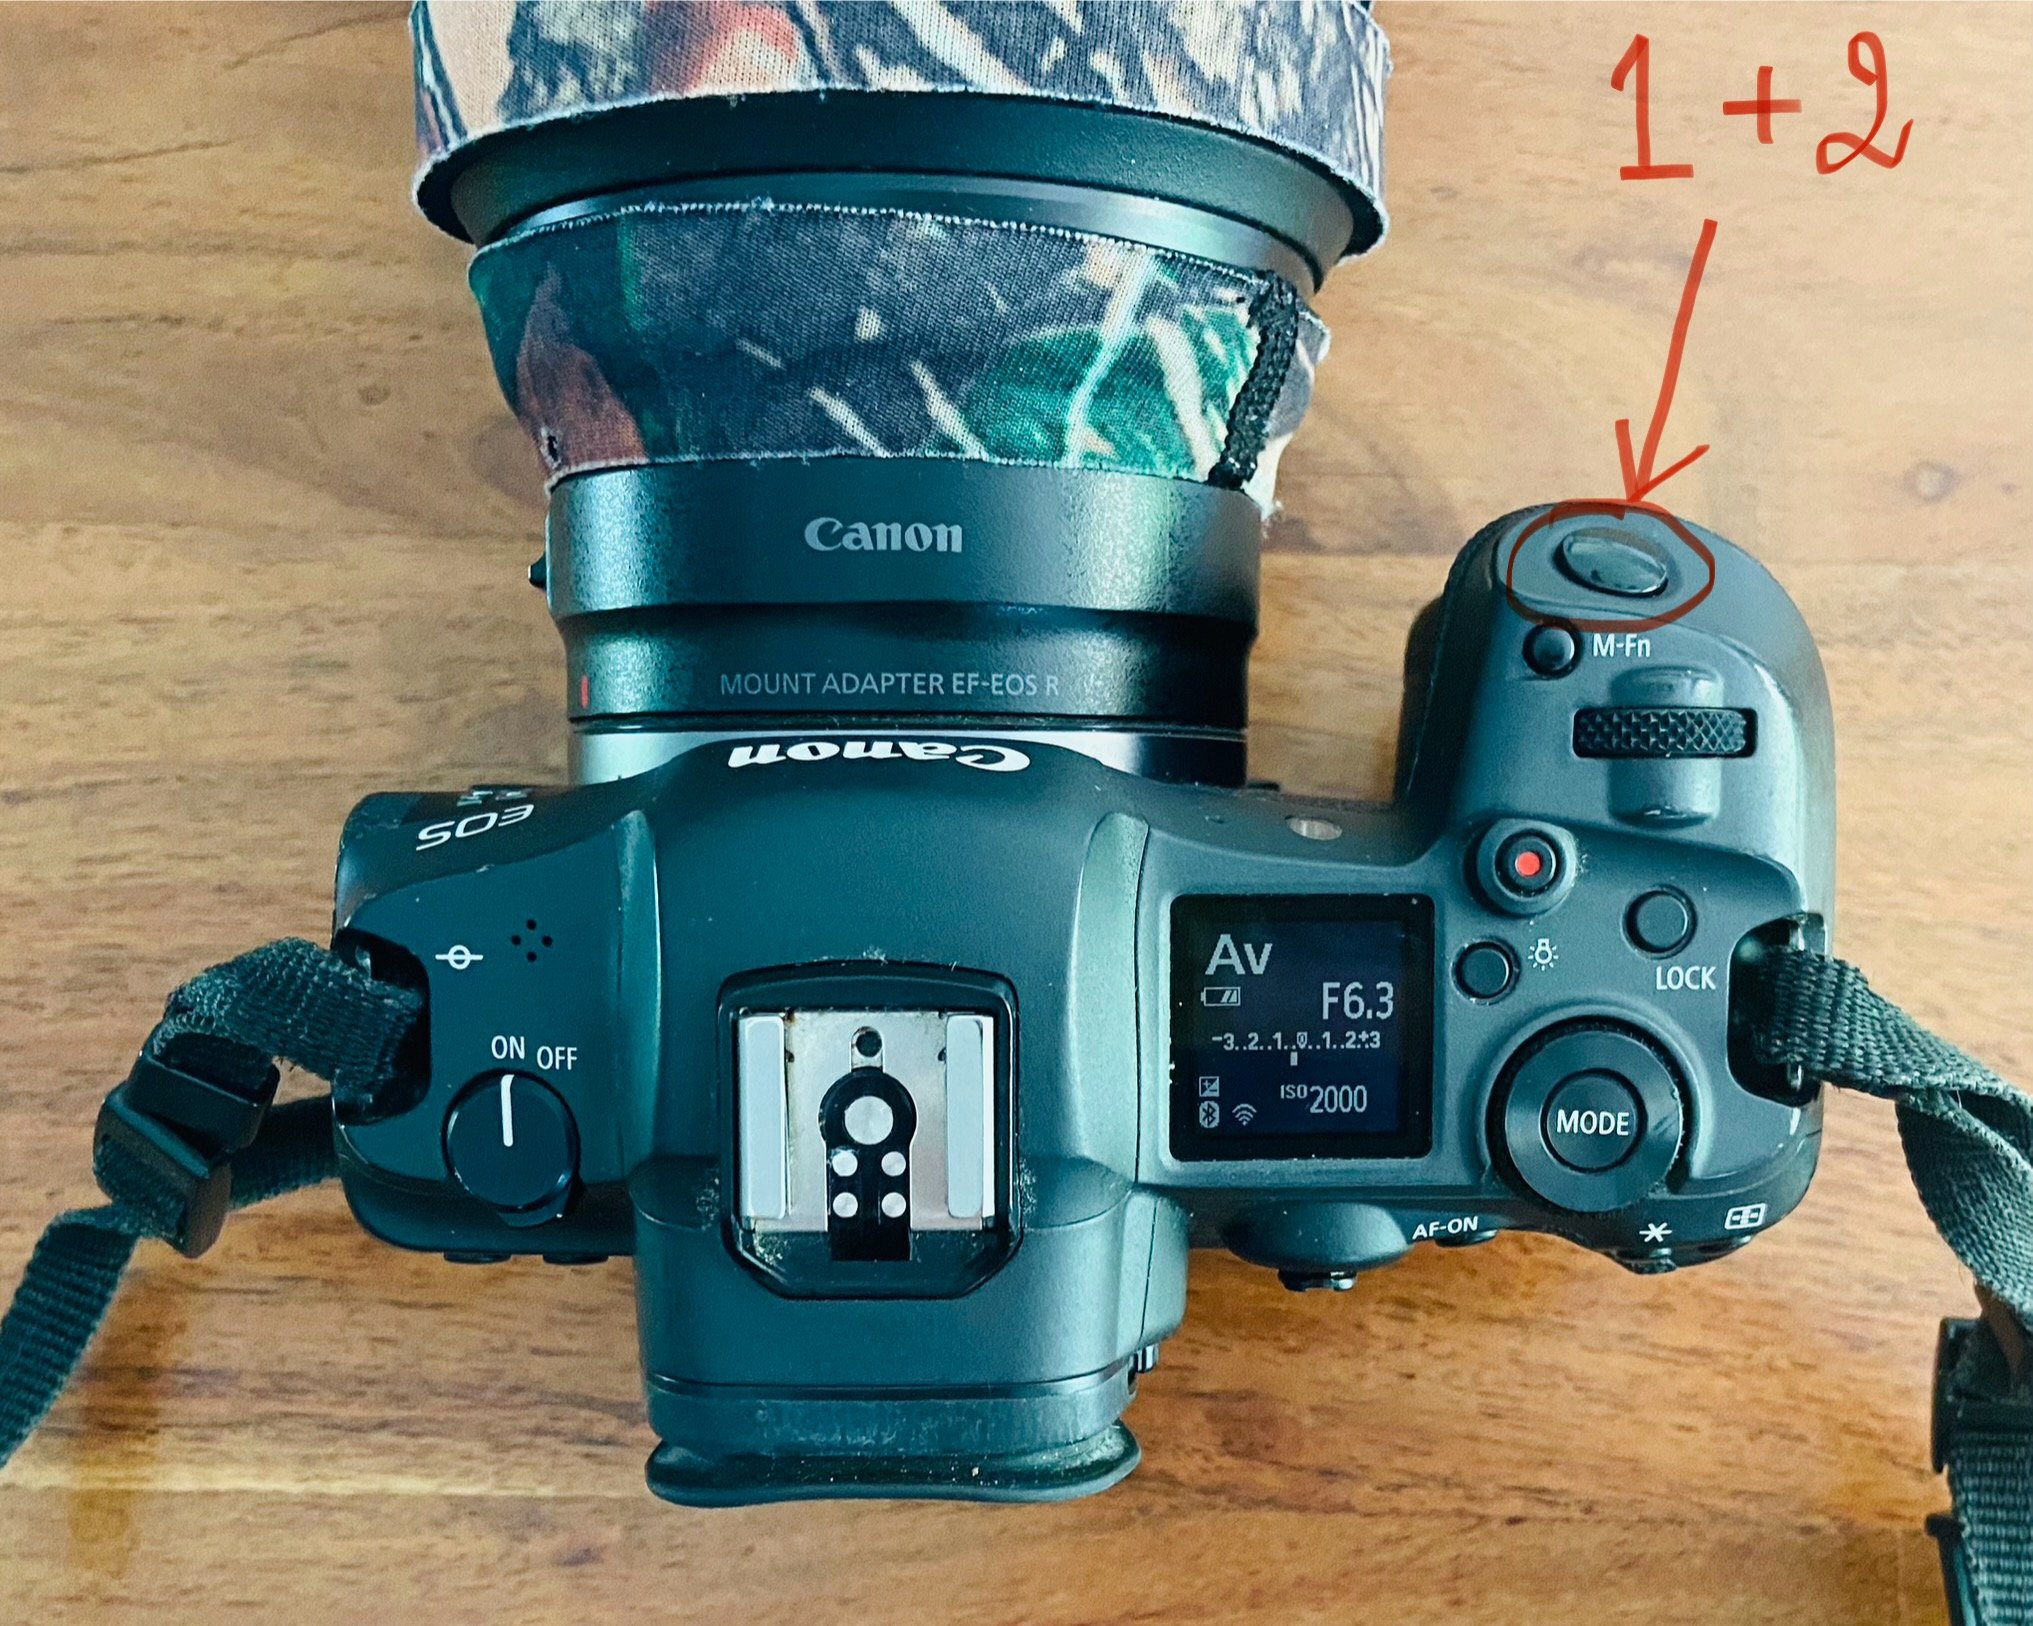
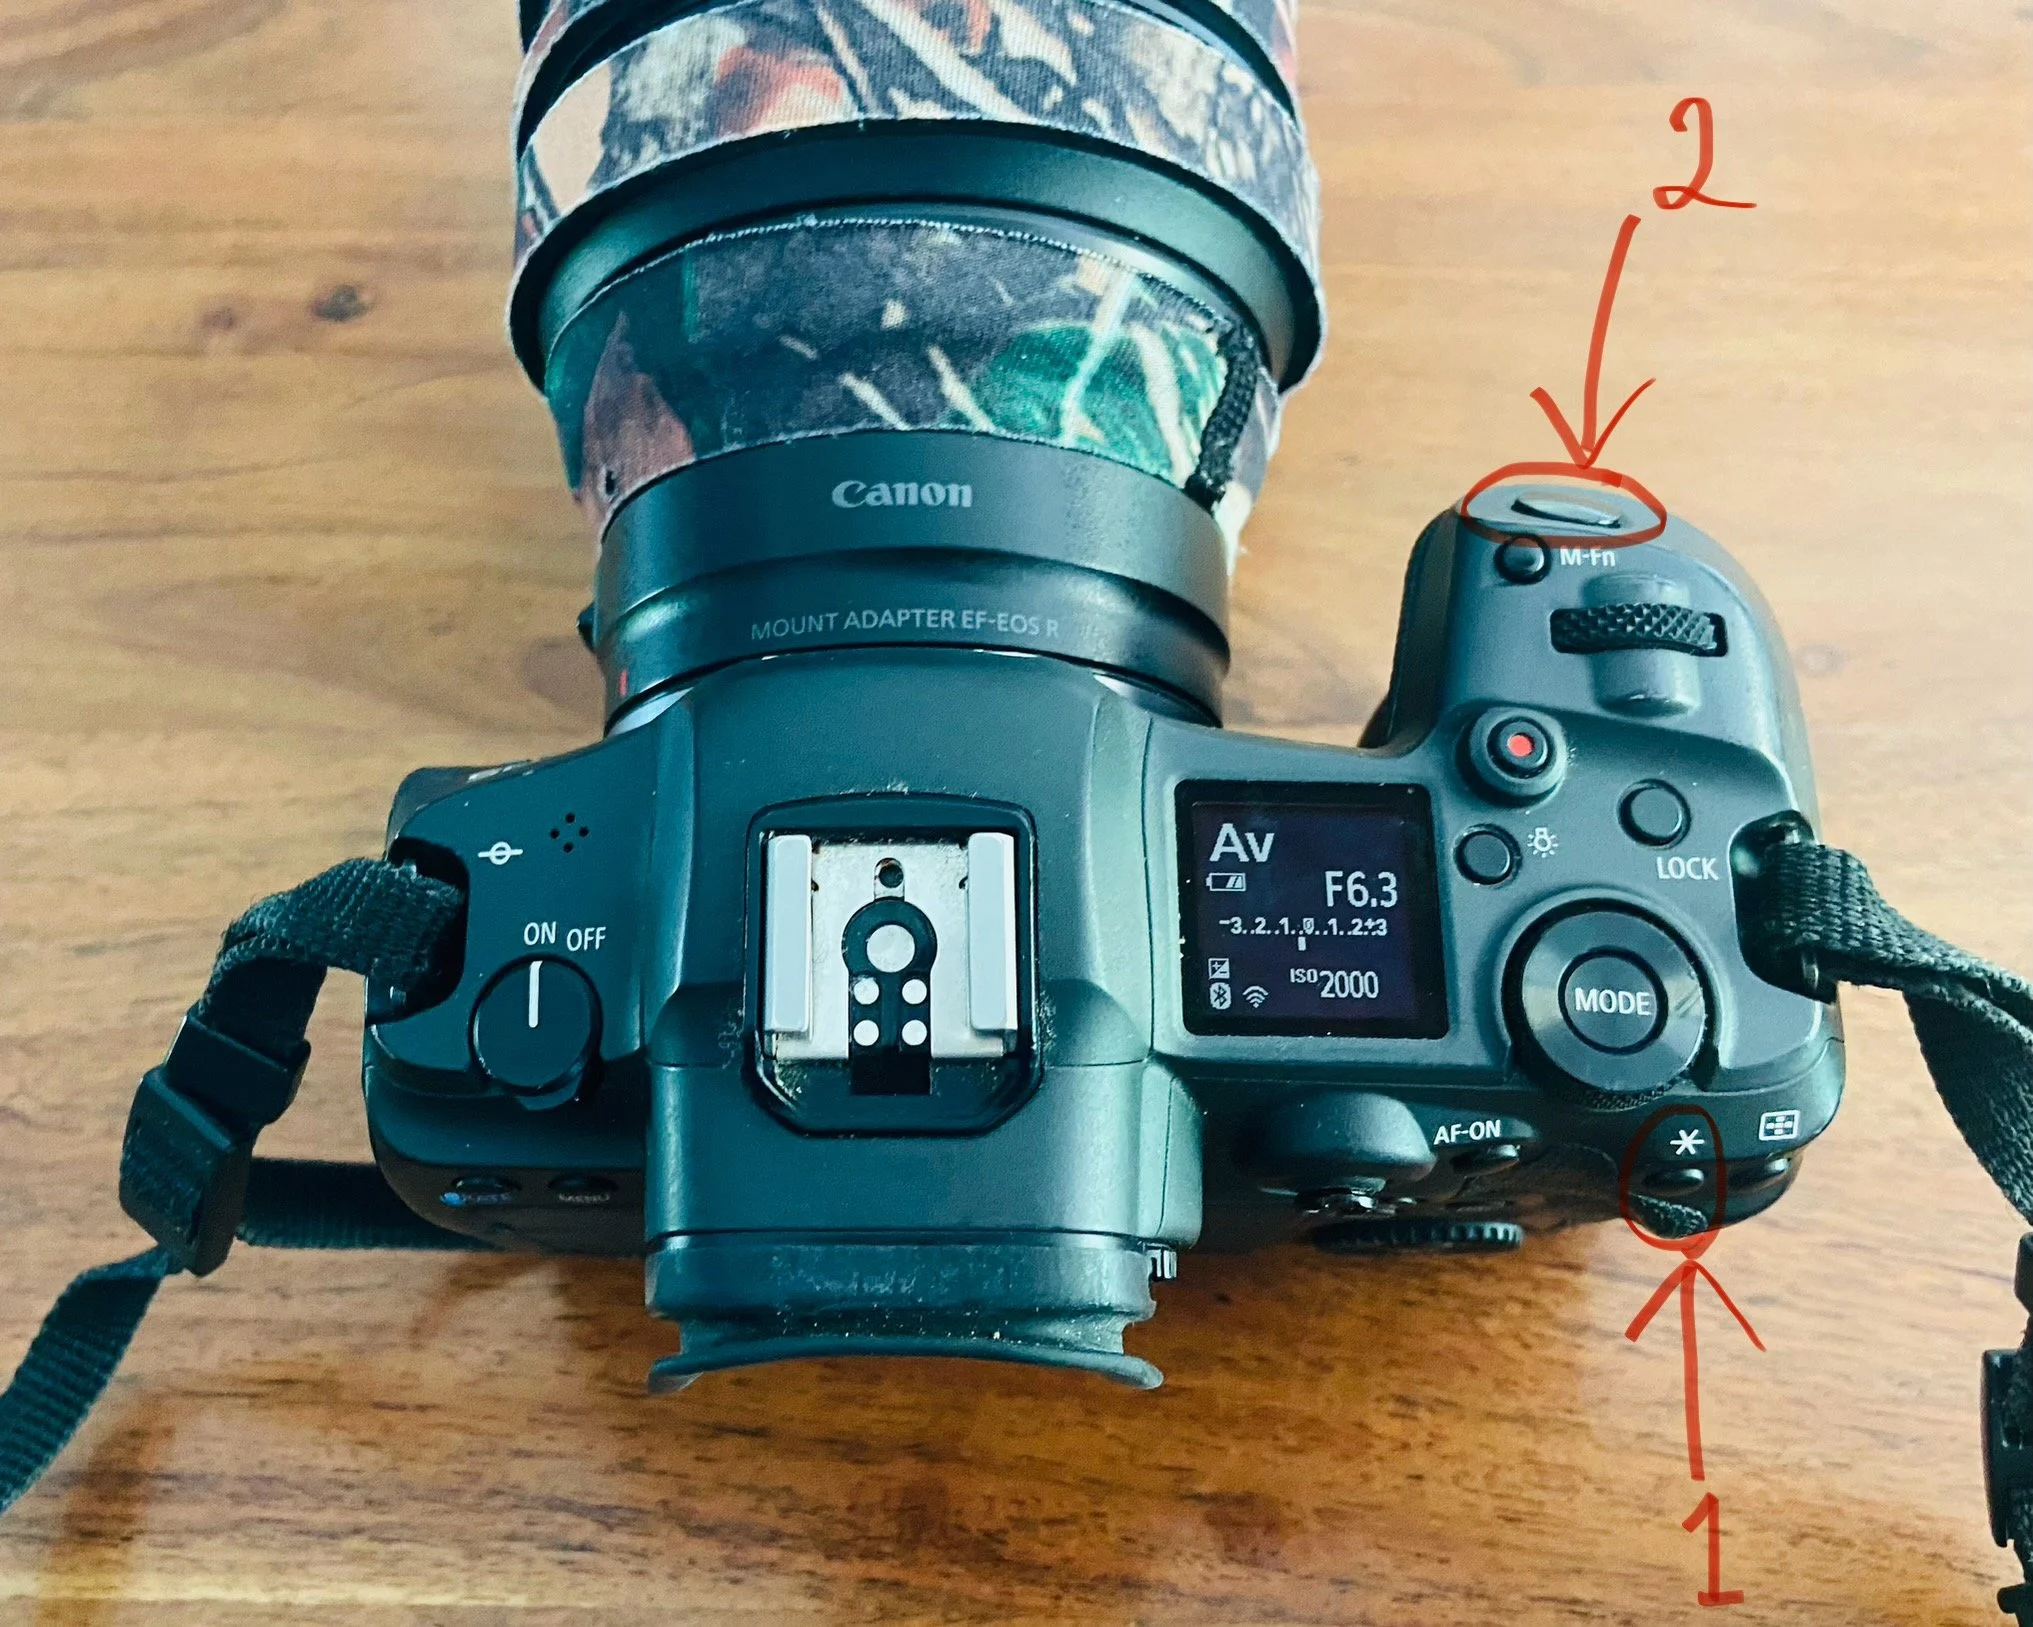
On many cameras, you can even move the AF‑ON function to a different button if the default one feels too far away. For example, on my own camera, I changed it so the « * » button does the focusing instead of the regular AF‑ON button. It sits closer to my thumb and feels much more natural for my small hands ;-).
How to practice (fun mini‑exercises)
Follow your dog or cat around the house using only the AF‑ON button.
Ask your child to run toward you and try to keep focus on their eyes.
Track birds at a feeder.
Follow cars passing by.
Within 10 minutes, you’ll feel the difference :-).

(by the way, you can find the BTS of this image in my freebie here)
Ready to Go Further?
If you loved this blog article and want to grow your wildlife photography skills even more, here are some of my most loved download‑and‑go guides: