

Food Photography for Beginners | by Dorene Hookey
A Step by Step Process for Shooting Delicious Looking Frames
Do you want to take pretty and professional looking pictures of food but are not sure where to begin? I started dabbling in food photography a few years ago when my original subjects, my kids, started being less interested in letting me take their picture. Luckily food never complains about being photographed or how long you are taking to get your shot! I'll be sharing my typical process when it comes to photographing food and drinks. If you take it step by step you'll see that it can be a lot of fun to play with your food and there's an endless variety of subjects to practice on and get creative with.
Step 1 : Lighting
I don't use any fancy lighting equipment but I do have a favourite window or two in my house that provide reliable diffused light (one faces east and one faces north). I place an old kids craft table which happens to be the same height as my window ledge beside it and lay my backdrops on top. I can use the window frame to prop up any vertical backdrops I'm using for shooting straight on subjects. I also have used my garage for shots where I want full sunlight and harsher shadows.
I have a C Stand that I attach my camera to using a specific clamp which helps for shooting flat lays from directly above, especially if I want to get my hands in the frame. It's possible to just hand hold the camera straight above the scene but it can get tiring and be challenging to keep the camera level to minimize distortion. I have a small bubble level that slides onto the flash hot shoe so I can make sure the camera is level both for hand held shots and when mounted on my C stand.


Step 2 : Backdrops
There are so many options when it comes to backdrops. You can use a table in your home or buy different backdrops that mimic tile, stone, marble or wood. I have purchased inexpensive double sided vinyl sets from Amazon and also higher end ones from companies that specialize in designing them. It's helpful to have vinyl or other wipeable backdrops for when your shoots get messy or sticky. I have also used sheets of craft paper if I am wanting a certain colour for an idea but it doesn't hold up well to liquids and usually can't be reused once it gets wet or greasy.
Choose your backdrop based on the colour and type of food you are shooting and the feel you are going for with your photos, either light and airy or dark and moody. It's more visually pleasing if there's some degree of contrast between the main subject and the background as well.


Step 3: Perspective
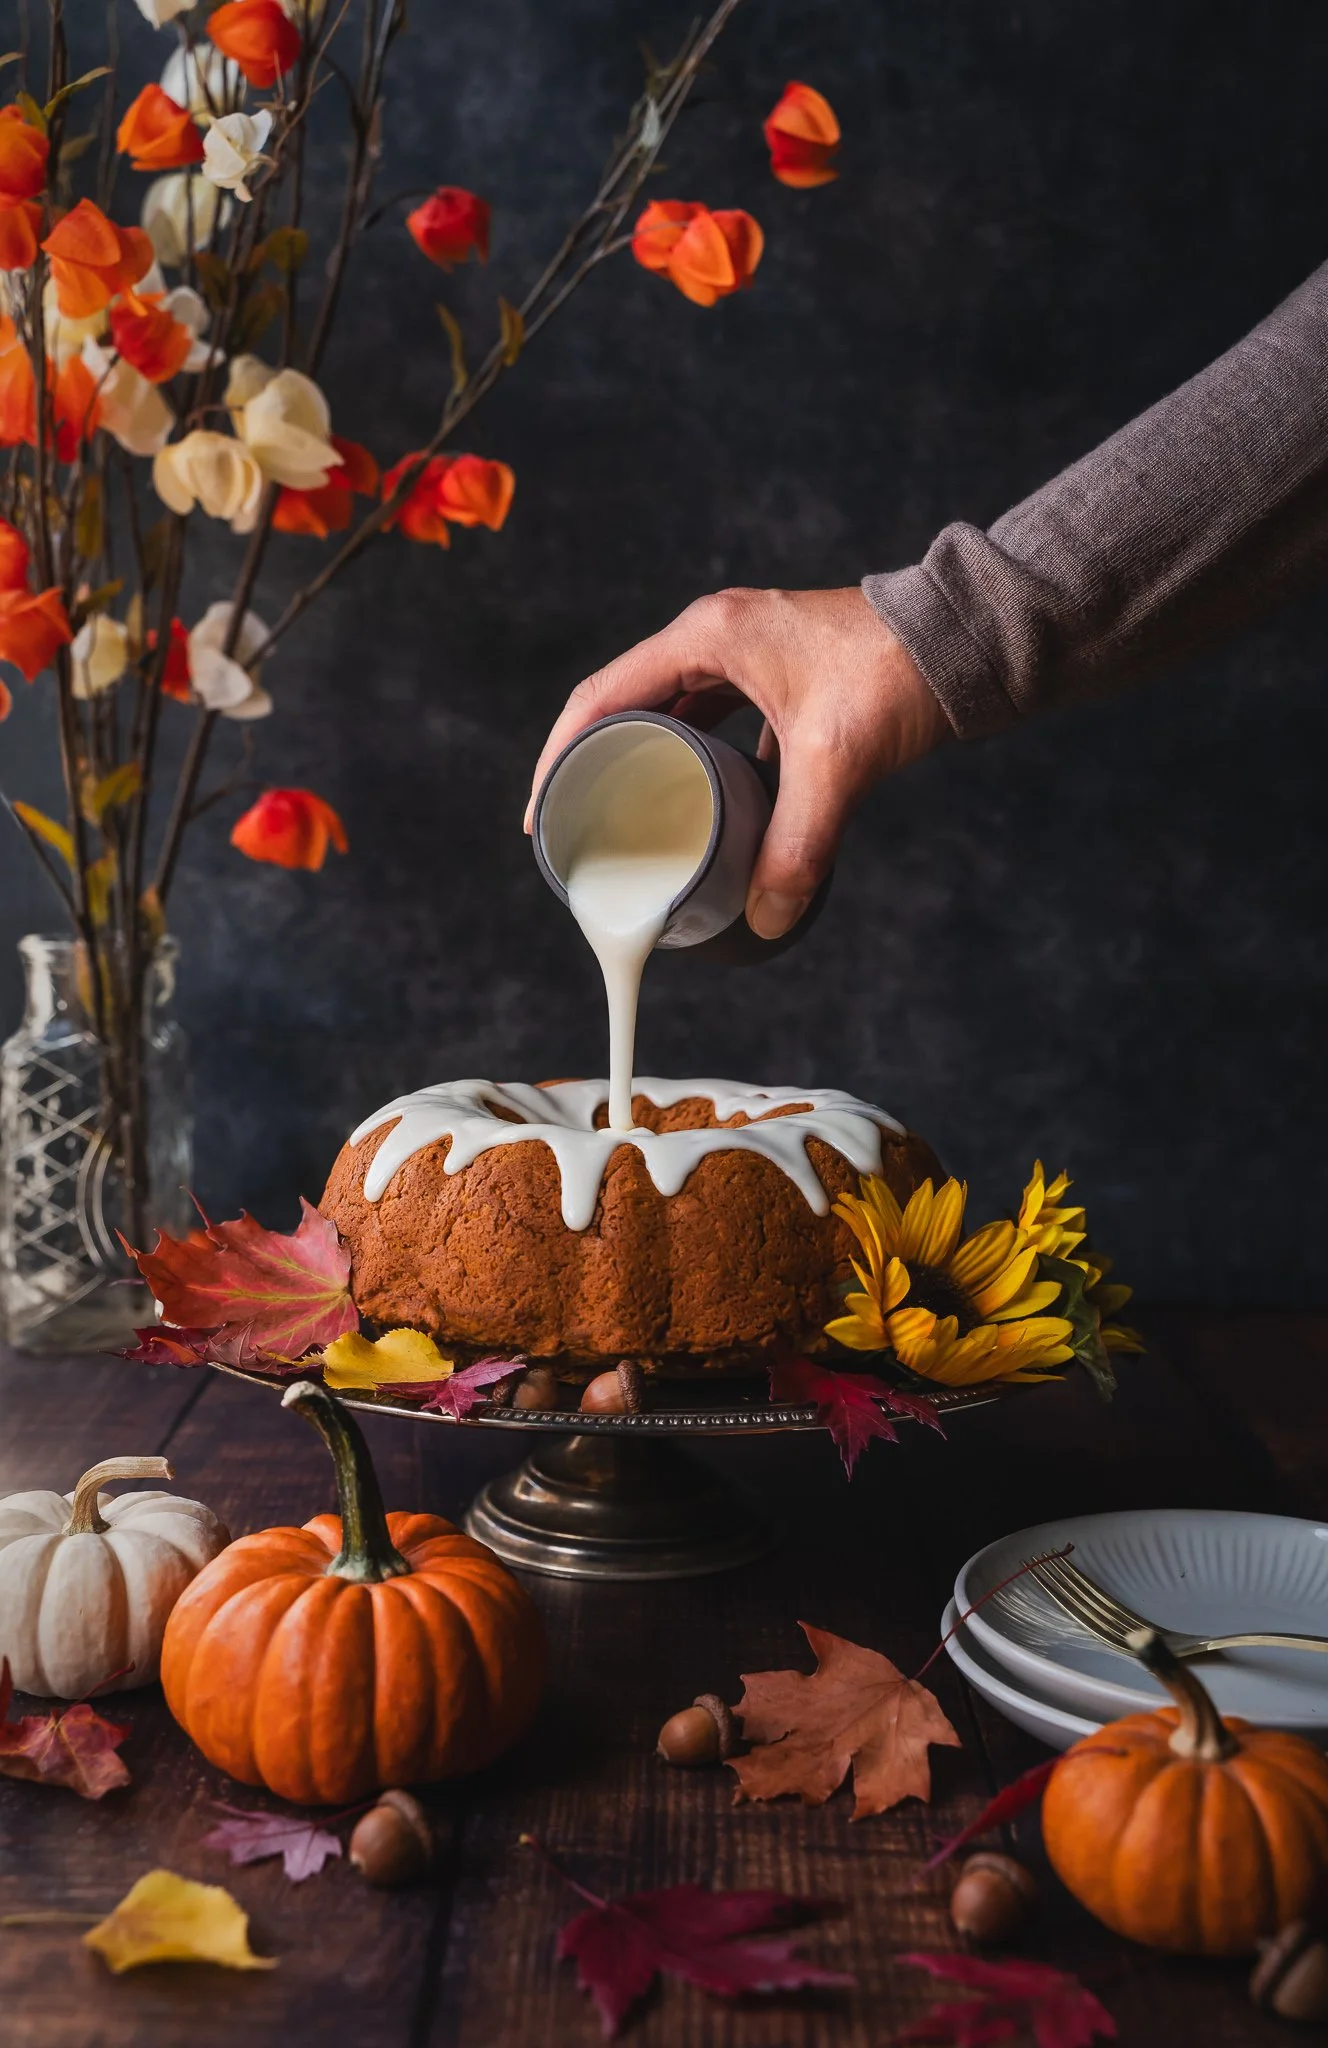
Decide if the food that you are shooting would look better shot from above (flat lay) or straight on. If it's something with height like a stack of pancakes, a burger or a cocktail that you'll be shooting straight on then you will need two backdrops, one to place the food on and one placed vertically in the background (unless you have a plain wall in the background that works). If you want to capture action such as pouring or sprinkling then that would be best shot straight on and also with your camera on a tripod.


Step 4: Props and Composition
This is where your creativity can really shine. There are so many ways you can style your food and endless options when it comes to dishes, glassware or other props. Thrift stores can be great for finding suitable props without having to buy complete sets. I find matte dishes and cutlery photograph best so I have a collection of plates and bowls of various sizes in both black and white that are not too shiny. It's nice to have some tiny bowls to place ingredients in and they are also easy to add into the frame without taking up too much space. I have a collection of napkins and dish towels that I regularly add to the edge of the frame for softness. Linen photographs well and if you mist your cloth first with a spray bottle it makes it easier to shape into an eye pleasing curve. Getting the napkin to lay right is often my biggest struggle!
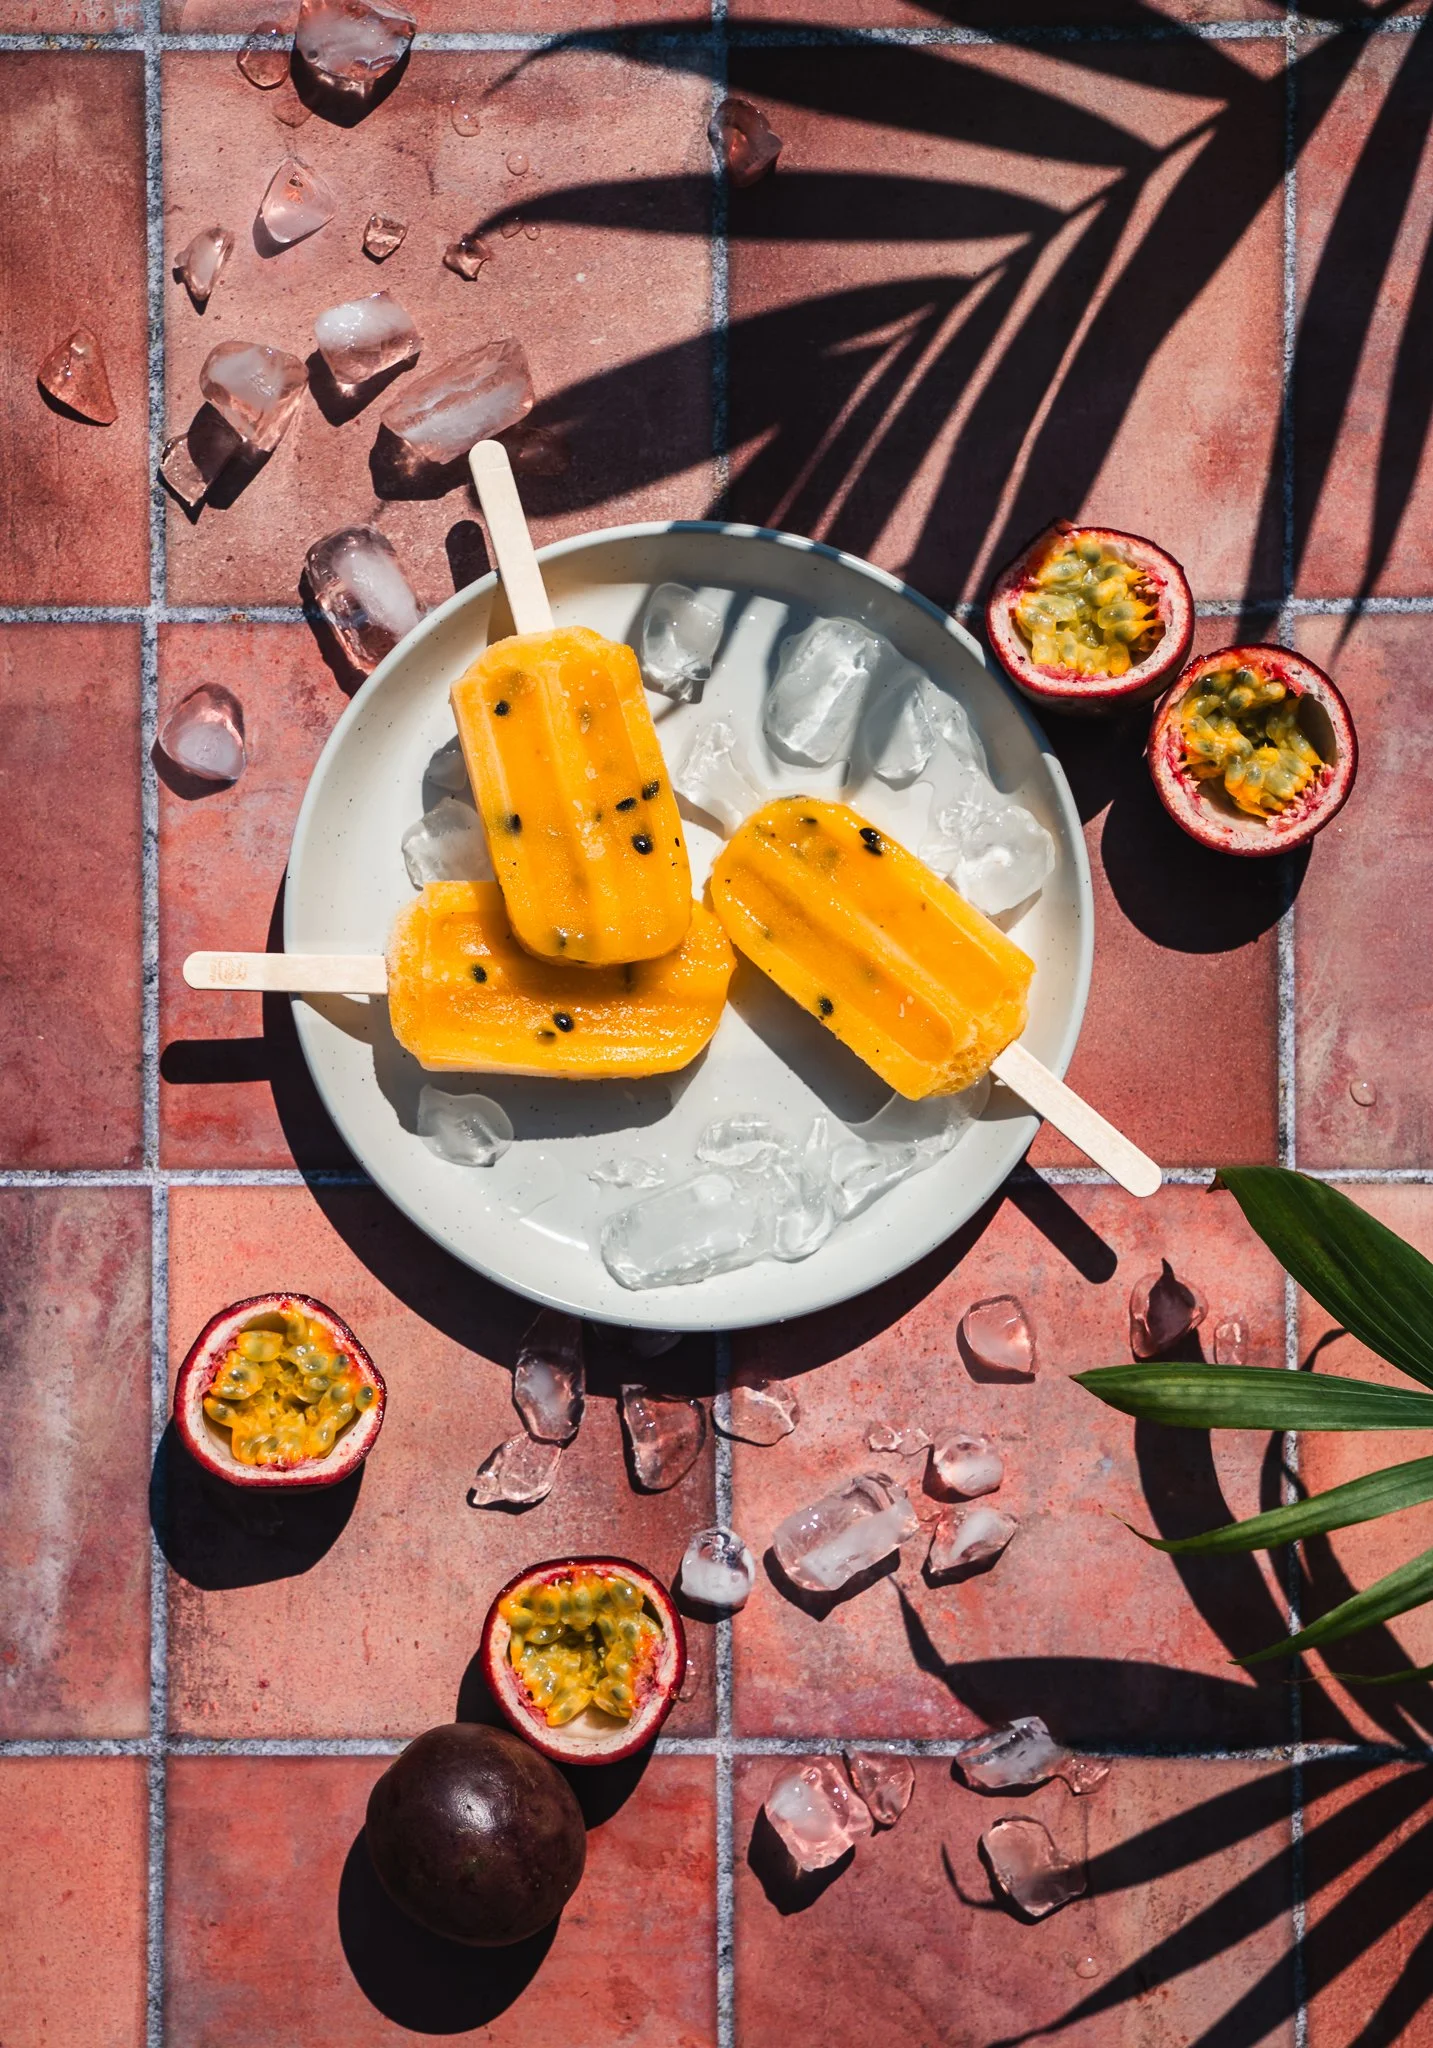
I typically take my chosen dishes and cutlery and lay them out on my backdrop without any of the food to start. I find it helps to see the composition more clearly with empty dishes. I often use odd numbers of plates or bowls (usually 3) and try to achieve a flow across the frame without too much crowding. Experiment with positioning the main subject in the middle of the frame and also off center. When placing cutlery I aim for a leading line towards the main subject. It also works well to have certain elements not fully in the frame with just parts of ingredients or plates/bowls in view. Save a few ingredients from the dish or drink to add to the frame, either in small dishes or scattered around the backdrop, to help tell the story of your recipe. Think about using complementary or repeating colours if possible, to make the image look more cohesive.


If you are shooting straight on, try and place some elements in the foreground and also in the background to achieve more depth in your image. For example a tall bottle or vase of flowers can add interest to the background and scattered ingredients or cutlery that are shorter work well in the foreground.
Step 5: Adding Food
Now it's time to add the star of the show and take a few tests shots to make sure you are happy with your overall composition and adjust props as needed. I typically don't shoot wide open but somewhere around f/4 or f/5 usually ensures the main elements are all in focus. I try and aim for a focal length close to 50mm so that there isn't too much distortion with the dishes looking like they are sliding out of the edges of the frame.
The final touch for me is sprinkling or scattering some part of the dish like cookie or bread crumbs, herbs, chocolate chips or berries on the backdrop. Don't overdo it and don't make it too uniform. You want to make it look like it accidentally spilled there.


Once you have your flat lay photographed, you may want to try a few close ups or a 45 degree angle shot for variety.

Step 6: Editing
I do most of my editing in Lightroom but sometimes a little work in Photoshop is needed to clean up some parts of the dish.
I hope you have found the breakdown of my process helpful and that there are some useful tips to get you enjoying food photography as much as I do. With a long winter just around the corner and perhaps less time and inspiration being found outdoors, setting up some food or drink shoots inside can really become a fun way to challenge yourself with a new genre.