

How to Shoot in Manual Mode: A Beginner’s Guide to Taking Control of Your Camera
If you’ve ever switched your camera to manual mode, taken one look at the settings, and immediately switched back… you're not alone. Manual mode can feel intimidating at first, but learning how to shoot in manual is one of the most empowering steps you can take as a photographer.
Learning manual mode will help you understand how your camera sees light and how to make intentional choices instead of letting the camera decide for you. This is where the creativity and the fun part really begin!
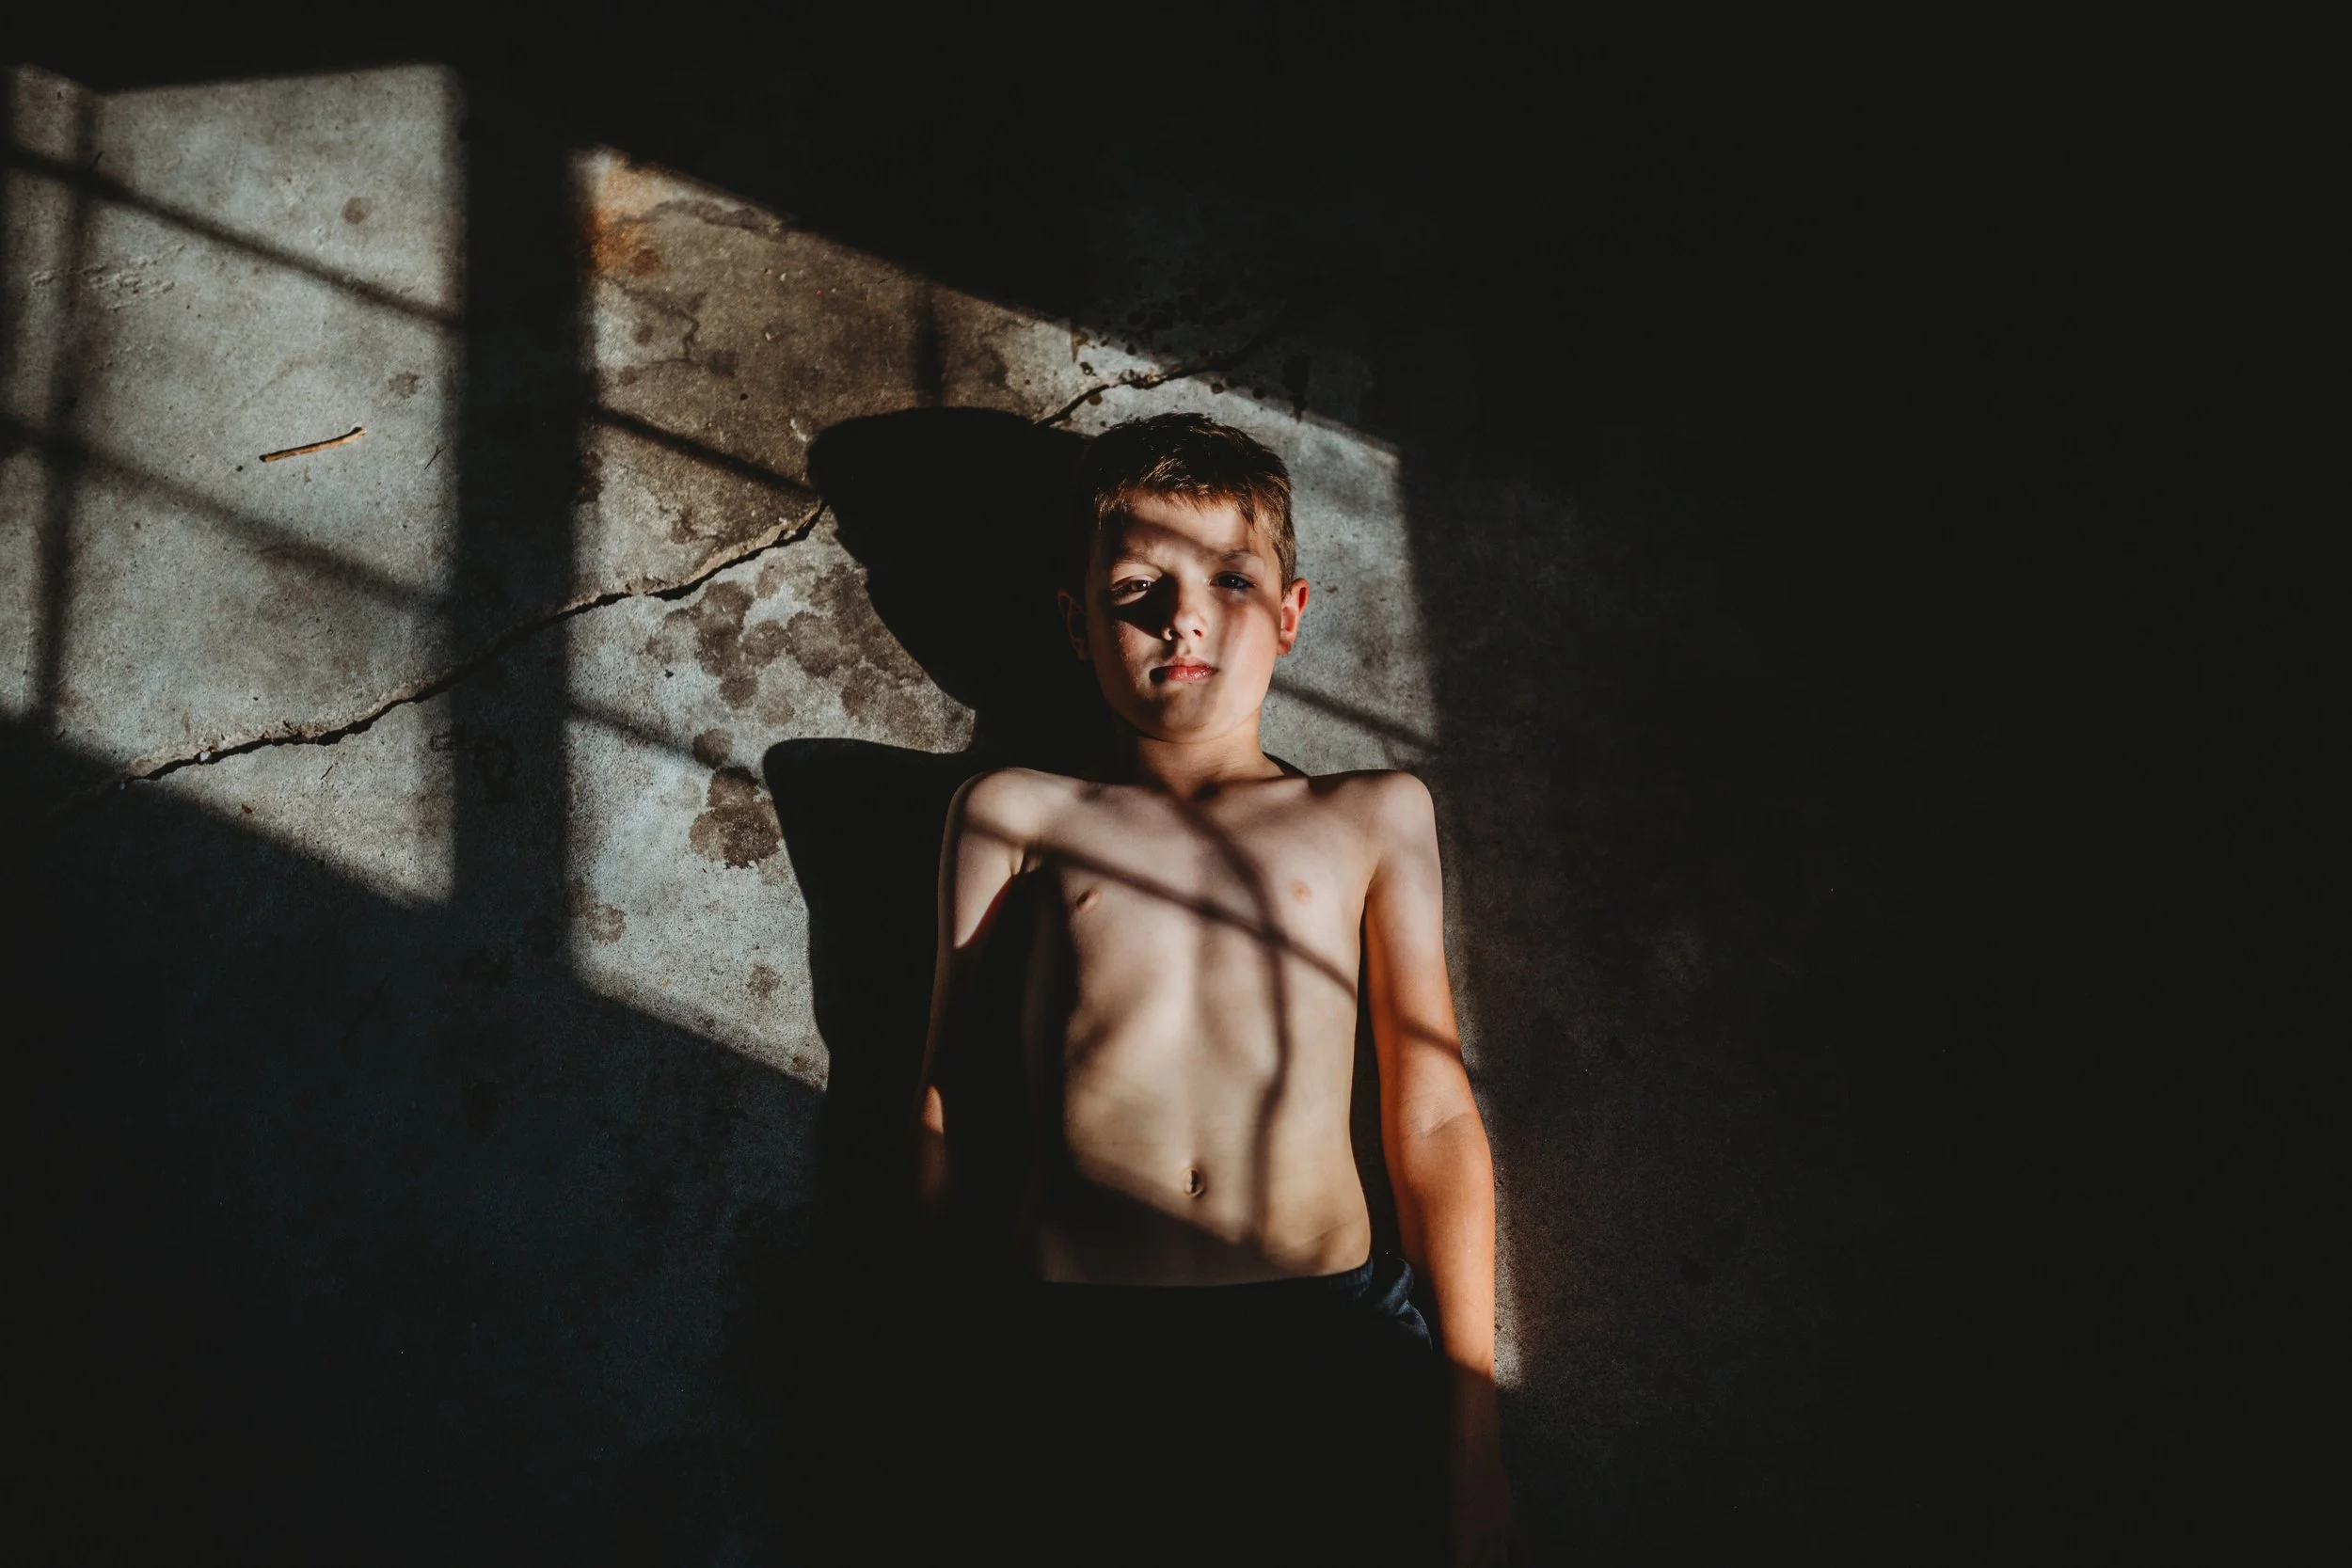
Image by Melissa Ortendahl
Why Shoot in Manual Mode?
Automatic and semi-automatic modes can be helpful, but they have limits. Your camera doesn’t understand your creative intentions. It only reacts to light and contrast.
Shooting in manual mode allows you to:
Control exposure in tricky lighting
Create consistent results
Adjust for creative effects intentionally
Stop fighting your camera’s decisions
Build confidence in any shooting situation
Manual mode gives you control over the final image.

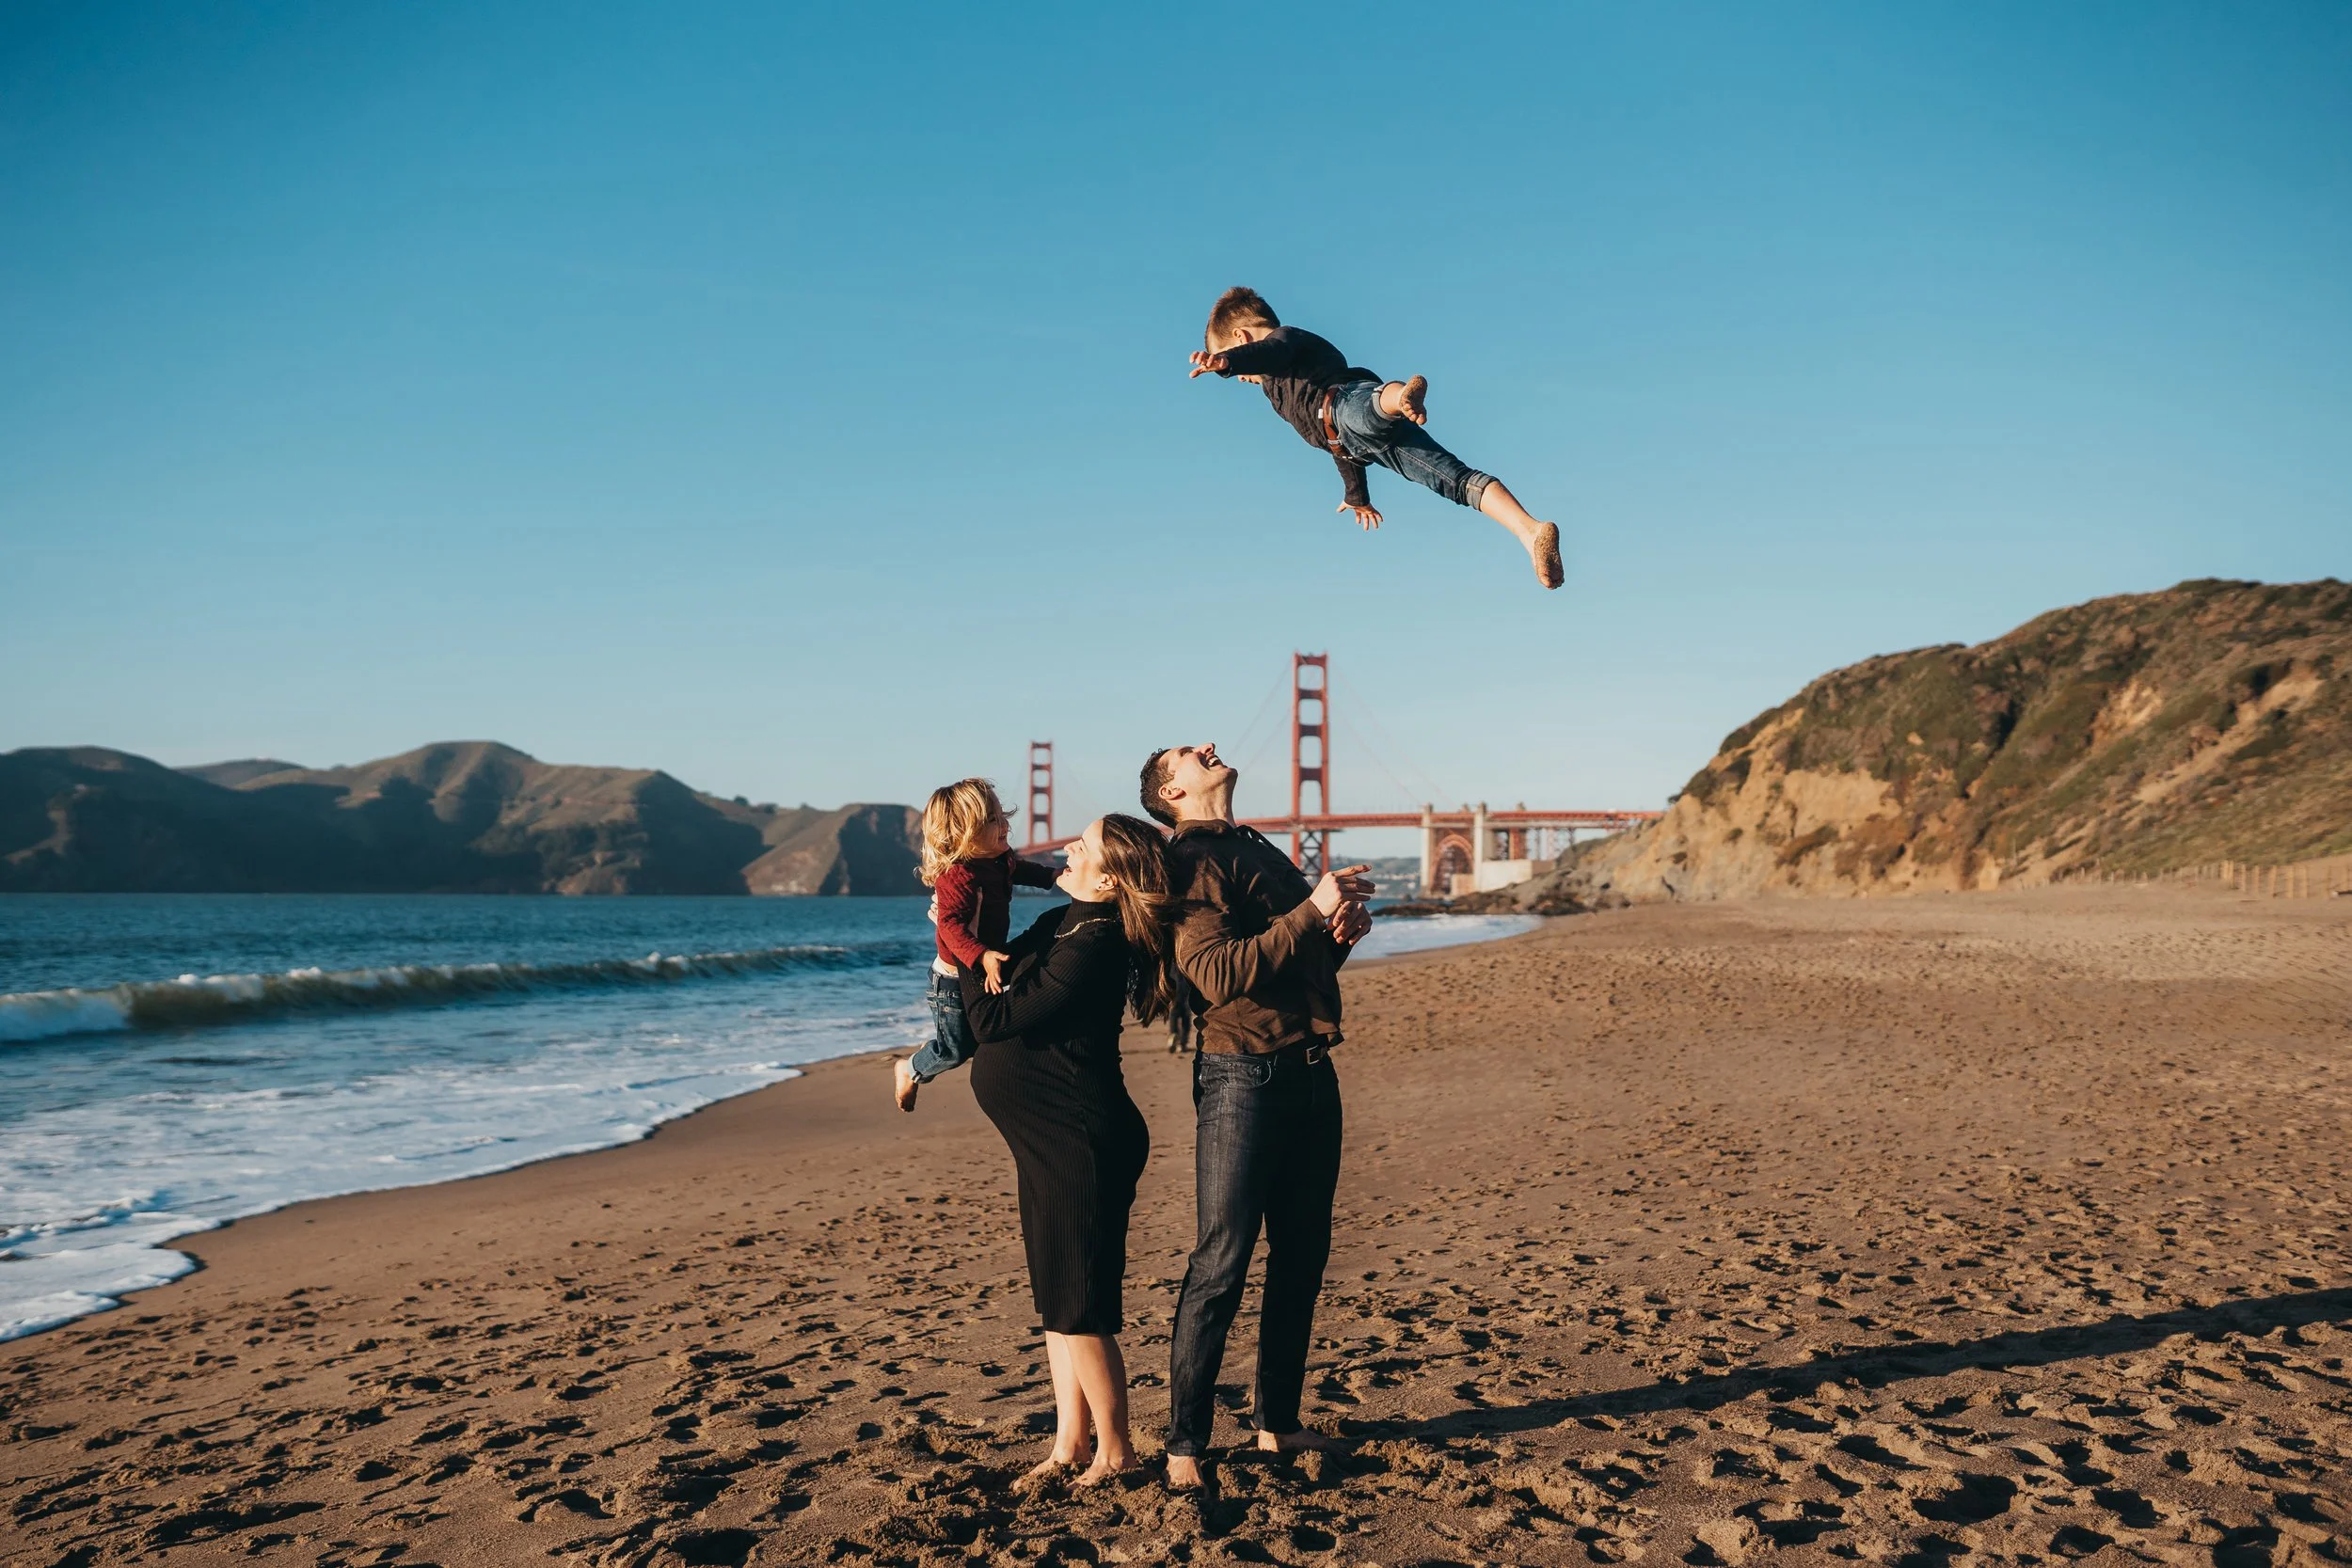
Image by Melissa Ortendahl
The Exposure Triangle Explained
At the heart of manual photography is the exposure triangle. These three settings work together to control how bright or dark your photo appears.
Aperture
Aperture controls how much light enters the lens.
Wider apertures (lower f-numbers) let in more light
Smaller apertures (higher f-numbers) let in less light
Also affects depth of field
Shutter Speed
Shutter speed controls how long light hits the sensor.
Faster speeds freeze motion
Slower speeds allow motion blur
Also affects camera shake
ISO
ISO controls how sensitive your camera is to light.
Lower ISO = cleaner image
Higher ISO = brighter image but more noise
Learning how these three settings work together is the key to shooting confidently in manual mode.


What Changes When You Switch to Manual Mode
In manual mode, you choose:
How bright or dark the image is
Whether motion is frozen or blurred
How much of the image is in focus
How clean or grainy the photo appears
This doesn’t mean every setting must be perfect right away. It means you’re making intentional choices and adjusting as you learn.

Image by Melissa Ortendahl
How to Read Your Camera’s Exposure Tools
Manual mode doesn’t mean guessing. Your camera gives you tools to help you evaluate exposure:
Light meter
Histogram
Highlight warnings
Learning how to interpret these tools helps you make informed decisions instead of relying on trial and error.
This is often where photographers get stuck because no one has clearly explained what those tools are actually telling them.


Common Beginner Mistakes in Manual Mode
Trying to change all three settings at once
Forgetting to adjust ISO when light changes
Shooting too slow without stabilizing the camera
Assuming the meter must always be at “zero”
Giving up after one confusing session
Manual mode is a skill, and skills take a lot of practice to master.

Image by Melissa Ortendahl
Manual Mode Is a Skill You Build Over Time
You don’t need to master manual mode in one day. In fact, that’s not a realistic goal.
However, with practice, you’ll start to:
Anticipate exposure changes
Adjust settings instinctively
Understand why an image works or doesn’t
Feel confident in unfamiliar lighting situations
That confidence is what allows creativity to grow.


Learn to Go Beyond Auto Mode
If you’re ready to move past automatic settings and truly understand how your camera works, Beyond Auto: A Photography Fundamentals Course was created to guide you every step of the way.