

Taming Greens in your Photos | by Laura Froese
If you’ve ever edited a photo and thought, “Why do my greens look weird, too neon, too… something,” you’re not alone.
Greens are one of the trickiest colours in photography. They can easily go too yellow, too blue, too neon, or just… flat. And the frustrating part? You can move sliders all day and still not land on something that feels right. Or you find a preset that you love, but it only works on certain images and makes your greens “gross” in others.
Understanding what’s actually happening in your image matters more than chasing the perfect preset or slider.

Here’s something a lot of photographers don’t realize. Greens are heavily influenced by yellow.
That means when you adjust yellows, even slightly, you’re often changing your greens at the same time. This is why your edits can feel unpredictable if you’re not sure which sliders are doing what.
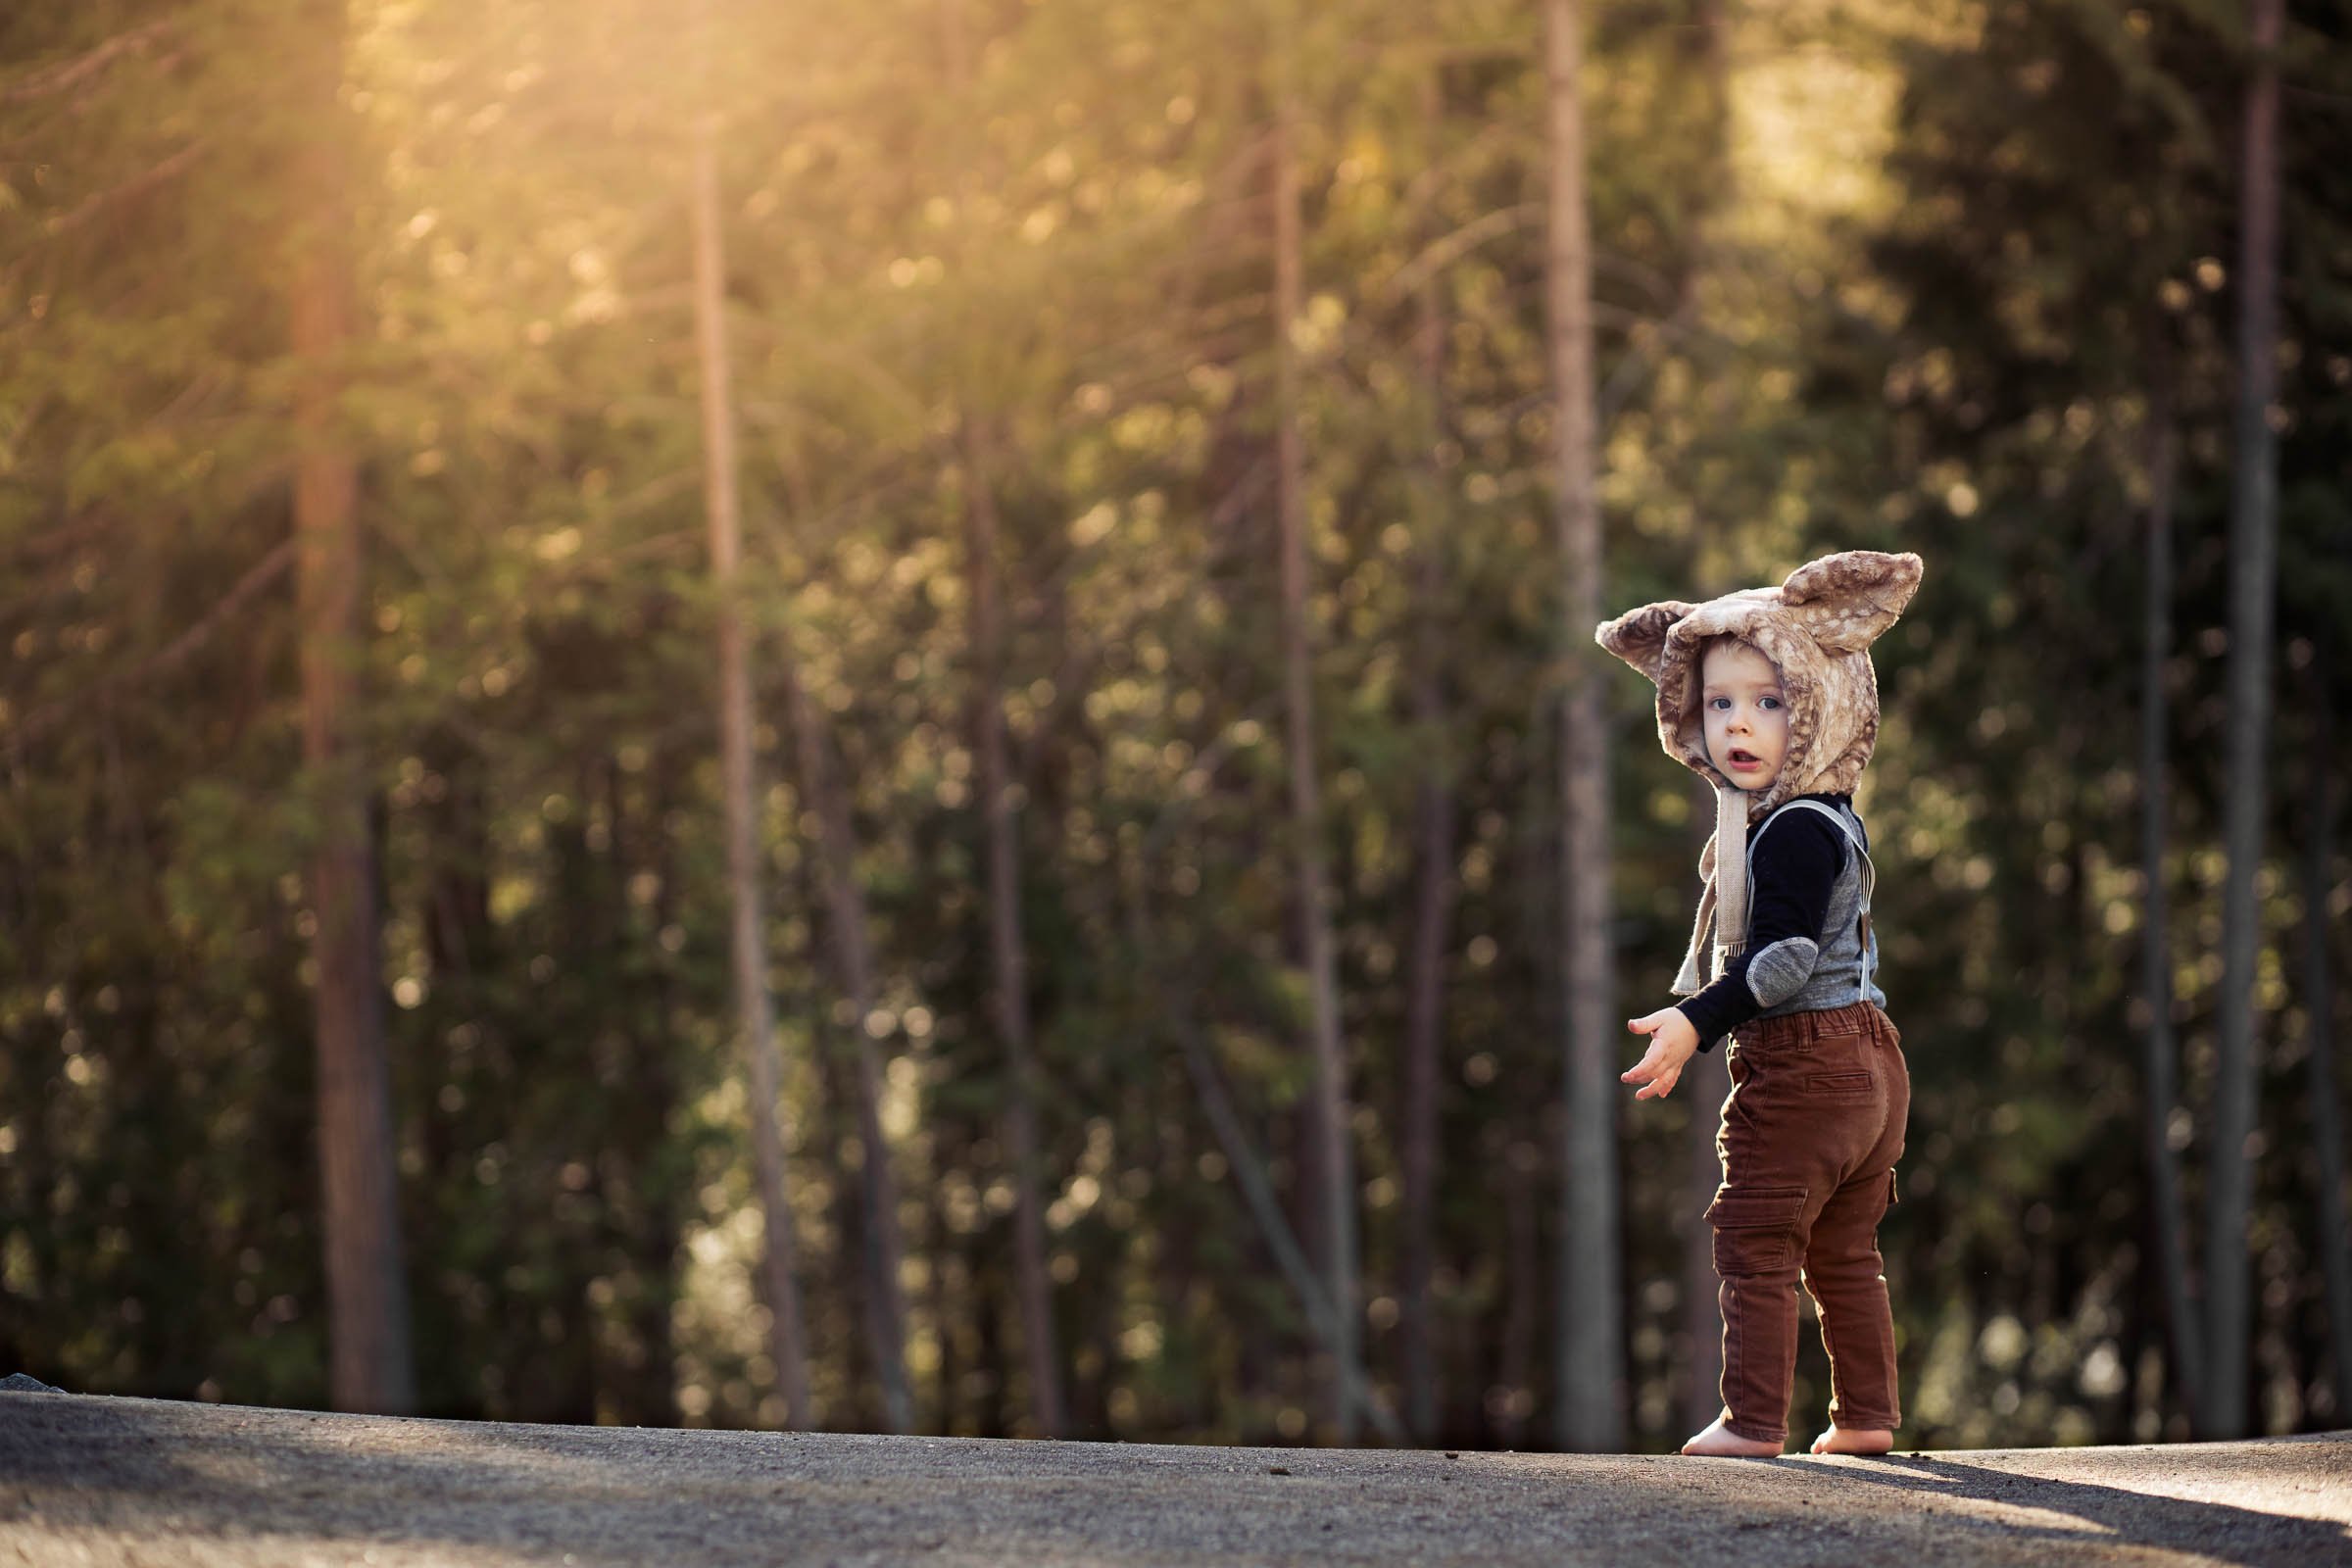
Another challenge? Light. Overcast light creates soft, even greens that are easier to edit. Harsh or dappled light creates multiple tones within the same scene. Golden hour can push greens warmer than expected.
So sometimes the issue isn’t your editing but it’s what you captured in-camera. This is all well and good to know what is going wrong, but where can you start to find out how to make it “right”?
Tip 1: Start experimenting with these sliders:
Reduce luminance slightly to add richness and depth (both of yellow AND green).
Adjust yellow tones to control the overall feel of your greens.
Introduce subtle magenta to warm greens without making them overly yellow.
That last one is a game changer. If your greens feel cold or lifeless, adding a touch of magenta can bring them back to life in a much more natural way than pushing warmth alone. Remember, you can mask off your subject or landscape when doing this, which will help immensely!

Tip 2: Choose a direction instead of focusing on the destination.
One of the biggest mindset shifts you can make is to realize that you don’t need your greens to look the same in every image. What you do need is control. Your editing style will evolve. Your greens might be cooler one year and warmer the next. Lighting conditions will change. Seasons will shift. Consistency doesn’t come from identical edits. Consistency comes from understanding how to get where you want to go every time. That being said, consider what “type” of greens you want overall.
Saturated or desaturated?
Warmer or cooler?
Even just deciding these basic directions will give you some point of reference even if your greens aren’t identical (which wouldn’t be realistic anyways).
A Quick Exercise to Level Up Fast:
Find a photo with greens you love (from another photographer), and try to match it using one of your own images with similar lighting and texture. Don’t aim for perfection. Just get close.
This trains your eye and helps you understand how different tools affect your image way faster than editing in isolation. I realize this might feel like “copying,” but you’re not doing this to steal their work. You’re doing this to learn the “brush strokes” behind the creation of their work and then taking that new knowledge of control and applying it to your own end results.
Ready to Take This Further?
If you’re tired of guessing and want a clear, repeatable way to edit greens in both Lightroom and Photoshop, my full course breaks it all down step-by-step, including exact tools, workflows, and real edit walk-throughs. Check it out below: