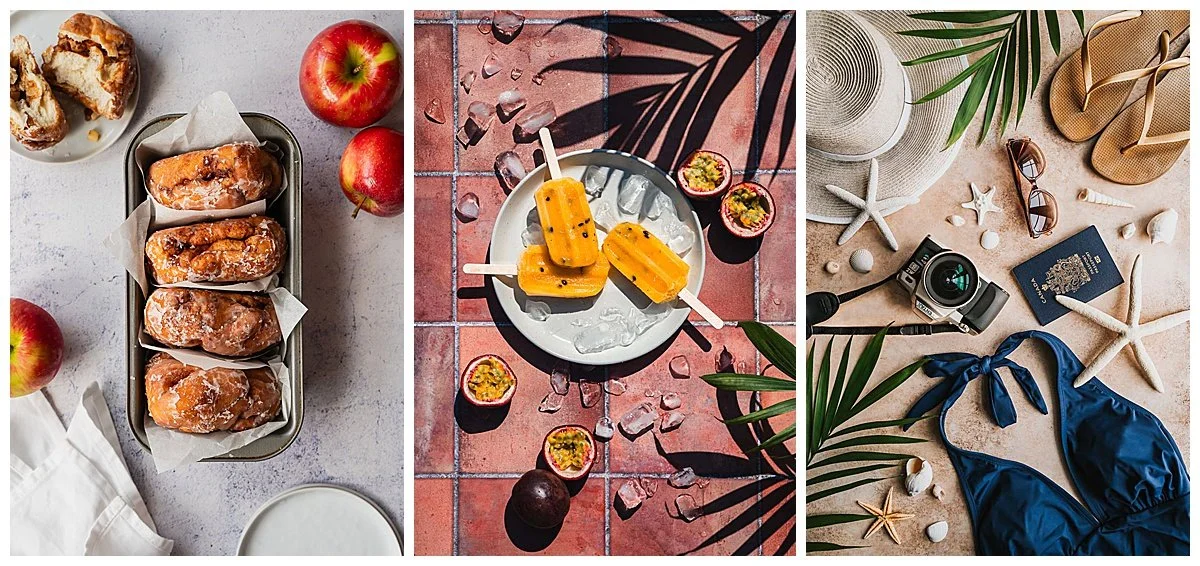
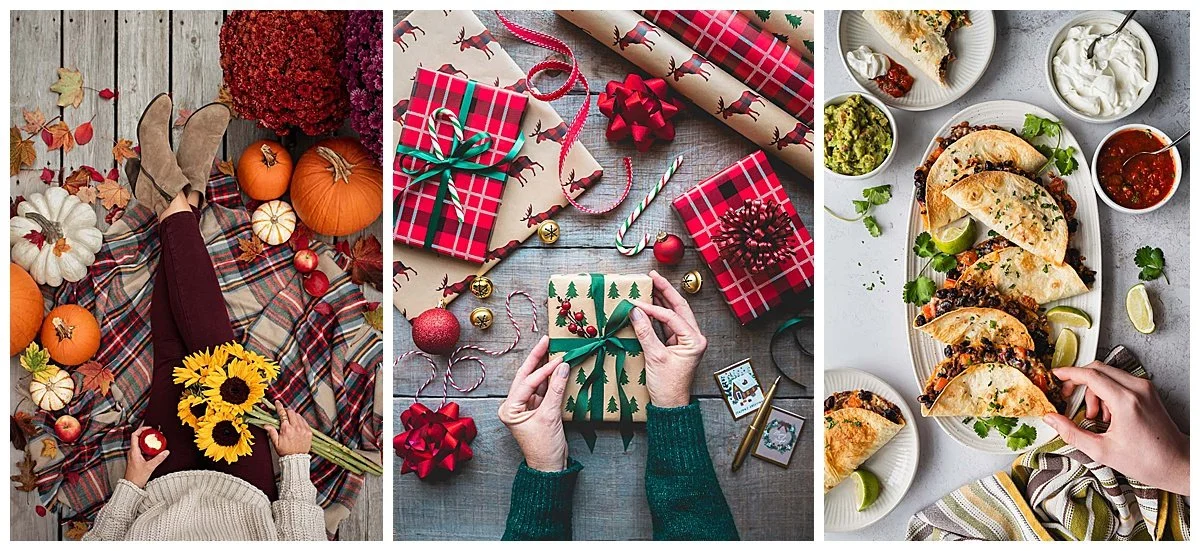
A flat lay is a style of photo where a variety of items are carefully arranged on a surface to tell a story and then photographed from above. Flay lays are often used in food photography but they are also commonly used for product photos and can be a fun way to capture a wide variety of hobbies or other natural groupings of subjects. At first glance they may appear pretty simple but there are key elements in creating balanced and eye catching flat lays that I will share here.
1. Lighting
Good lighting is essential for a good flat lay. I prefer using softer, more diffuse lighting instead of harsh, high contrast light. I achieve this by placing a small table holding my background next to an east or north facing window in my home. You can experiment with light hitting your scene from the side or from the top of the frame. If I want to have those bold strong shadows in my image then I use a south facing window on a sunny day or set up outdoors (weather permitting).
2. Equipment
Cameras - A phone camera can certainly do the trick but using a professional level camera will elevate your images and give you more control over aspects like focus, depth and exposure. I use a 25-78mm zoom lens but try and shoot as close to 50mm as possible. Shooting wider than that can add too much distortion and make it look like objects are sliding off the edges of your frame.
Backgrounds - You can use just about anything for a background from tables and floors and fabrics in your home to specially designed backdrops for flat lays and food photography that can be purchased at a variety of price points. A set of relatively inexpensive vinyl wipeable backdrops that mimic different wood and stone surfaces can be a good place to start if you want to invest in your set ups.
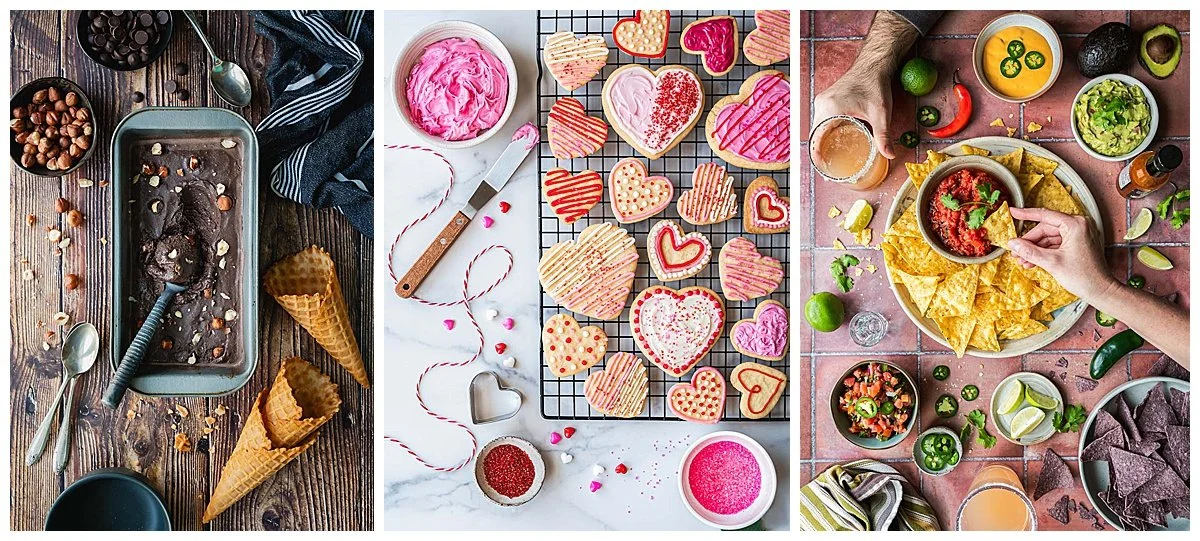
Cheaper options such poster boards or craft paper in different colours can be bought at the dollar store but they can be hard to keep clean and reuse if you are shooting anything messy.
Props - If you are shooting food flat lays you will need some dishes to place your food on. Smaller sized bowls and plates work better since they don't take up so much space on your backdrop and allow more room for supporting elements. I prefer matte dishes and cutlery and for the dishes to be in neutrals like black, white or beige. If your flat lay is not food related then try and think of things that naturally complement your main subject like tools that might be used in a hobby that you are capturing. Objects like fabric/scarves or florals make great additions to all kind of flat lays by delivering a hit of colour and texture.
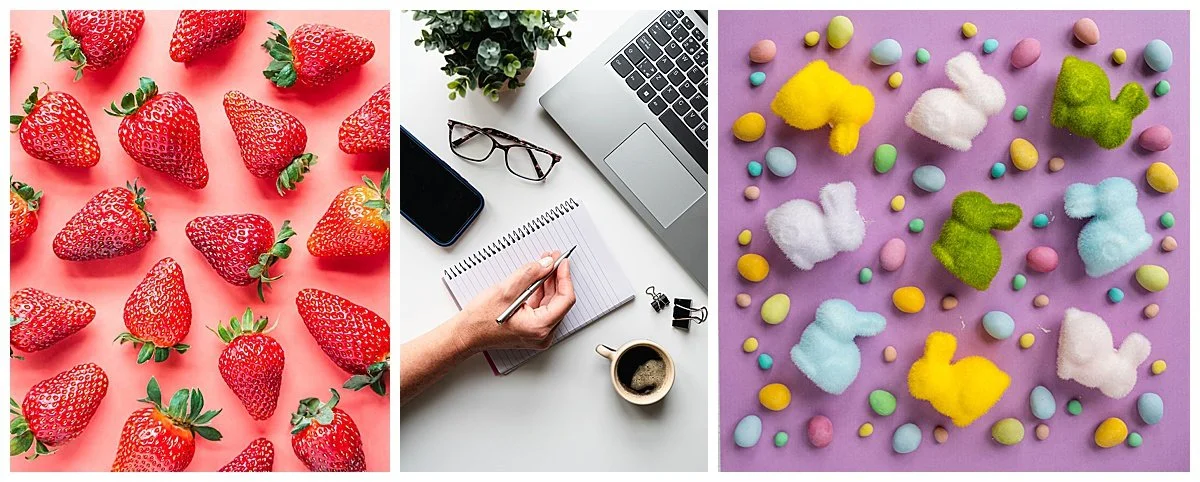
Keep in mind your overall colour scheme (complementary, analogous or monochromatic) when you are gathering props and supporting elements to your main subject. A harmonious colour combo will make your flat lay feel more cohesive and be more visually appealing.
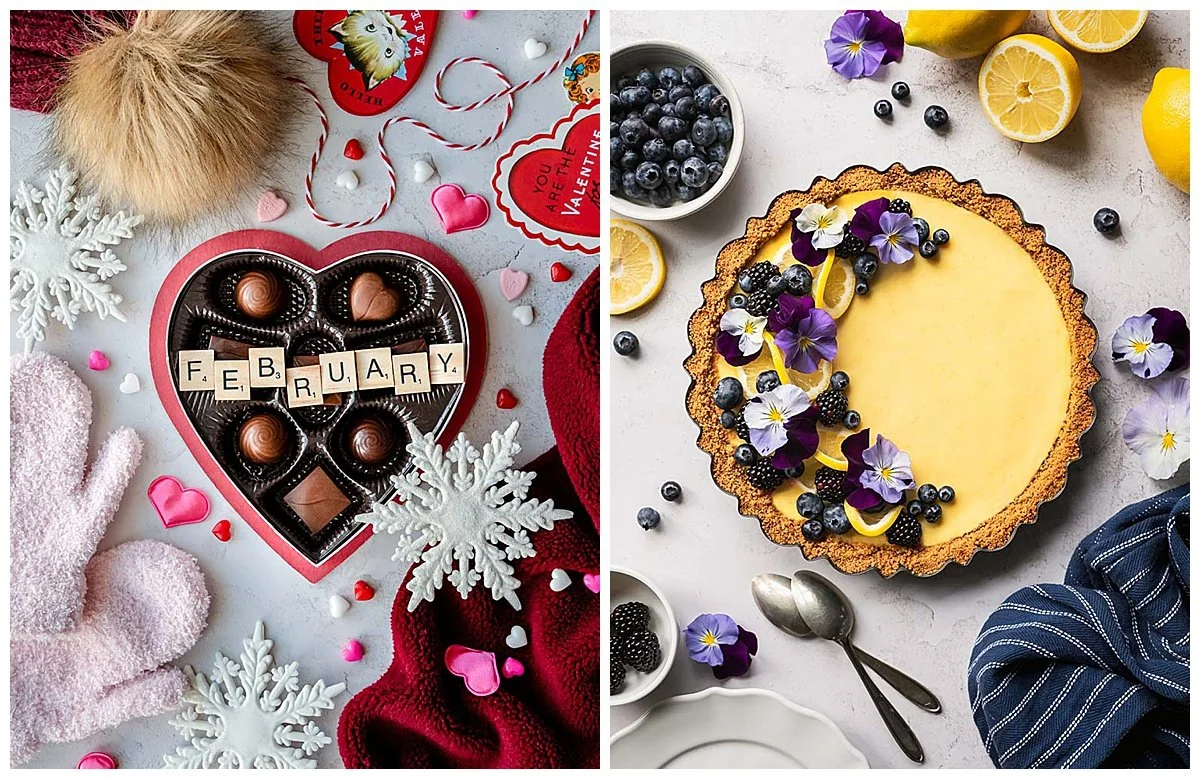
3. Composition
The first thing you need to decide is where to place the main subject or hero of your shot. If the hero is a single item you can place it in the middle of the frame but it may be more interesting to have it off centre or by using the rule of thirds. If you have multiple main subjects such as three dishes of the same food you can experiment with placing them in curves or a triangular lay out. Once you have your hero in place it's time to add supporting elements starting with larger objects and filling in the gaps with smaller items. Try and leave some negative space or breathing room rather than filling every space and making the image look too busy.
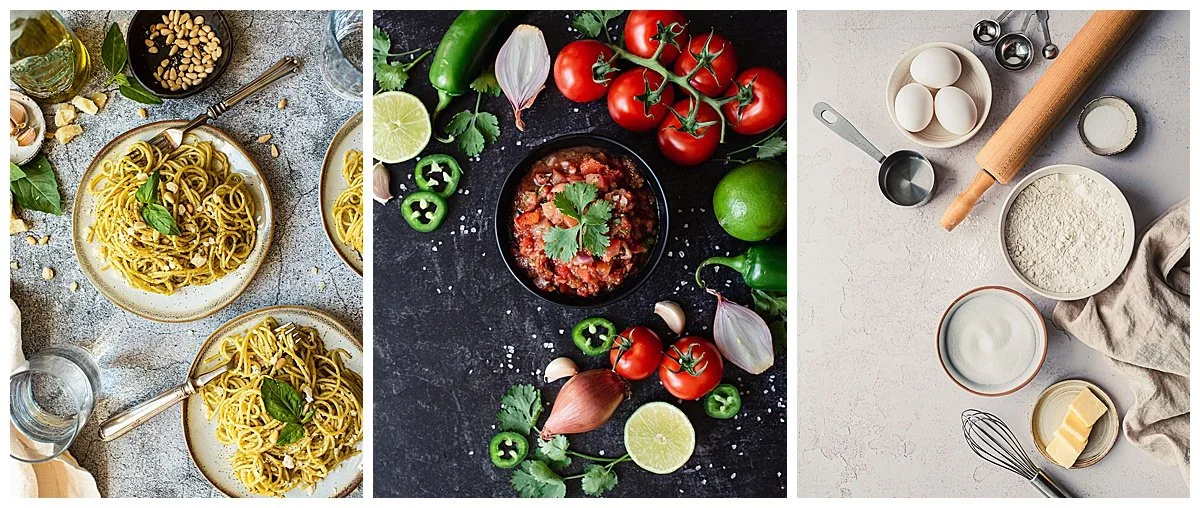
Tips for Arranging Supporting Elements
Use repeating shapes such as circular bowls and plates but add interest by varying their sizes. Having multiples of supporting elements can help the image feel more cohesive too.
Odd numbers work better than even so use groups of three when you can. If you have groups of identical items try not to have them all pointing in the same direction but change up their angles to make things less uniform.
Have supporting items angled or pointing towards the hero. This works particularly well with linear objects like cutlery or flower stems or ribbon/fabric.
Have some of your objects partially out of the frame instead of a border of negative space around the edge of the photo.
Build depth by layering objects and having some things overlap. Plates, cutting boards and baking trays provide natural layering and framing for food.
Scatter tiny elements like crumbs or other ingredients but make sure they aren't too perfectly placed or uniform.
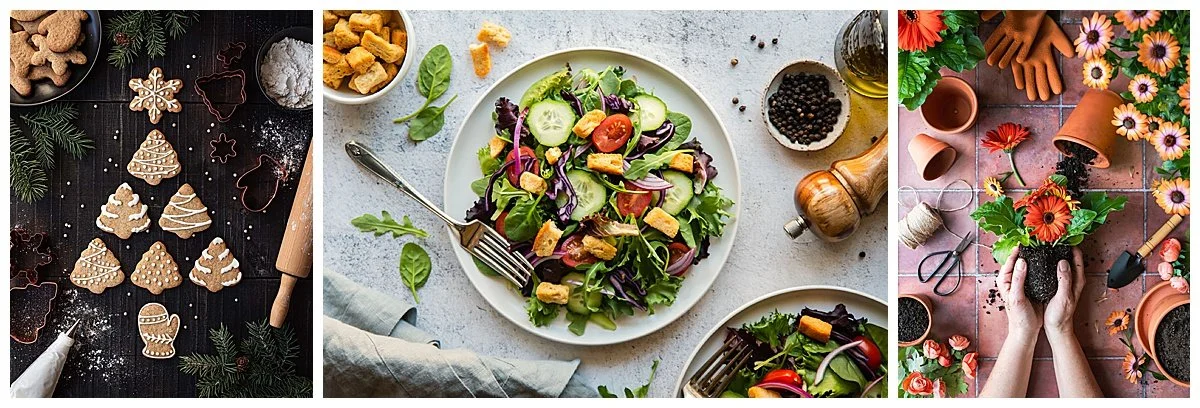
4. Alternative Compositions
There are certain concepts like knolling where you want to perfectly align your objects in parallel lines and right angles to each other or where you want to fill your frame with evenly spaced identical objects. In these cases colour schemes become more important and the tips
stated above won’t necessarily apply.
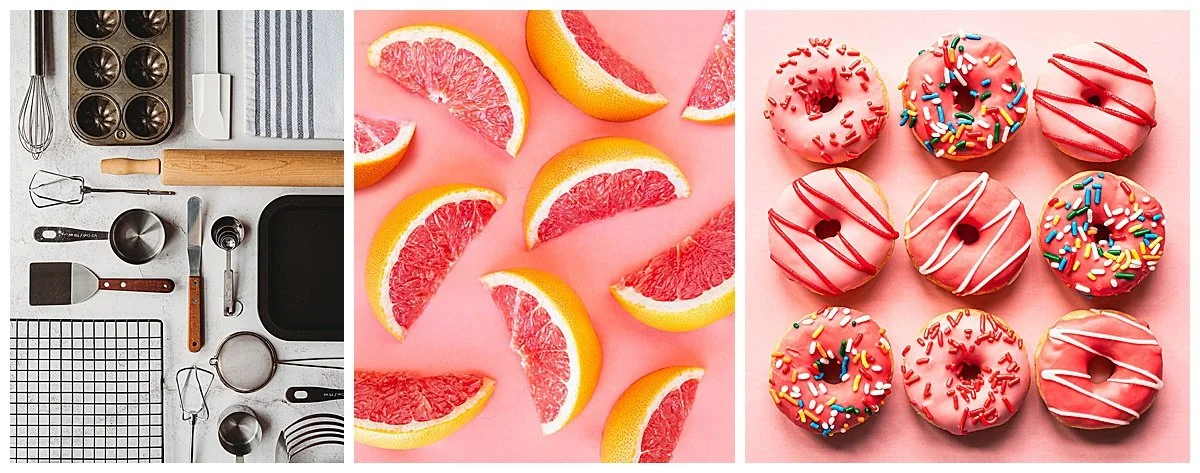
5. Adding the Human Element
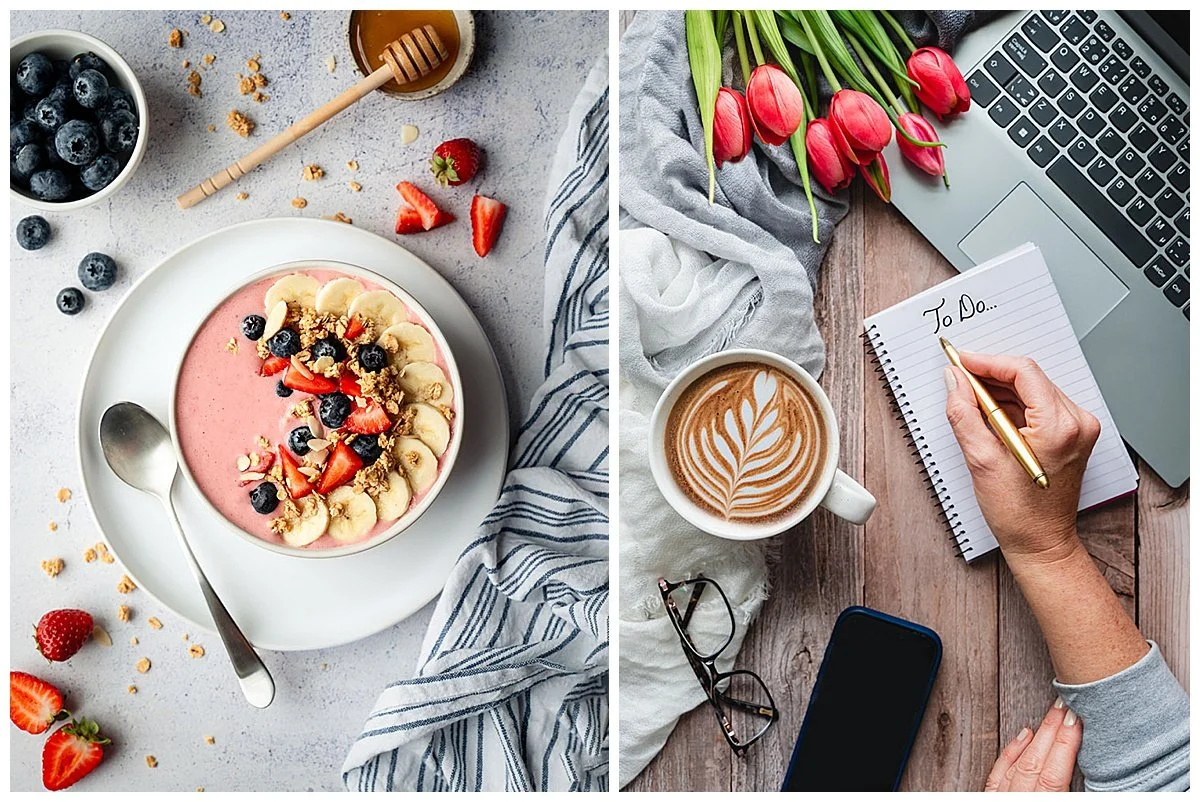
One way I like to elevate my flat lays is to add hands or feet into the frame to enhance the storytelling. You can mount your camera on a C Stand above the scene and get your own hands or feet in the image or you can shoot someone else being part of the story if you are hand holding your camera. Pay attention to any clothing that's visible and try to have it coordinate with your overall colour scheme.
I hope these pointers help guide you when you are creating your next flat lay! If you’d like even more guidance, check out my brand new Flat Lay Guide, The Art of the Flat Lay!