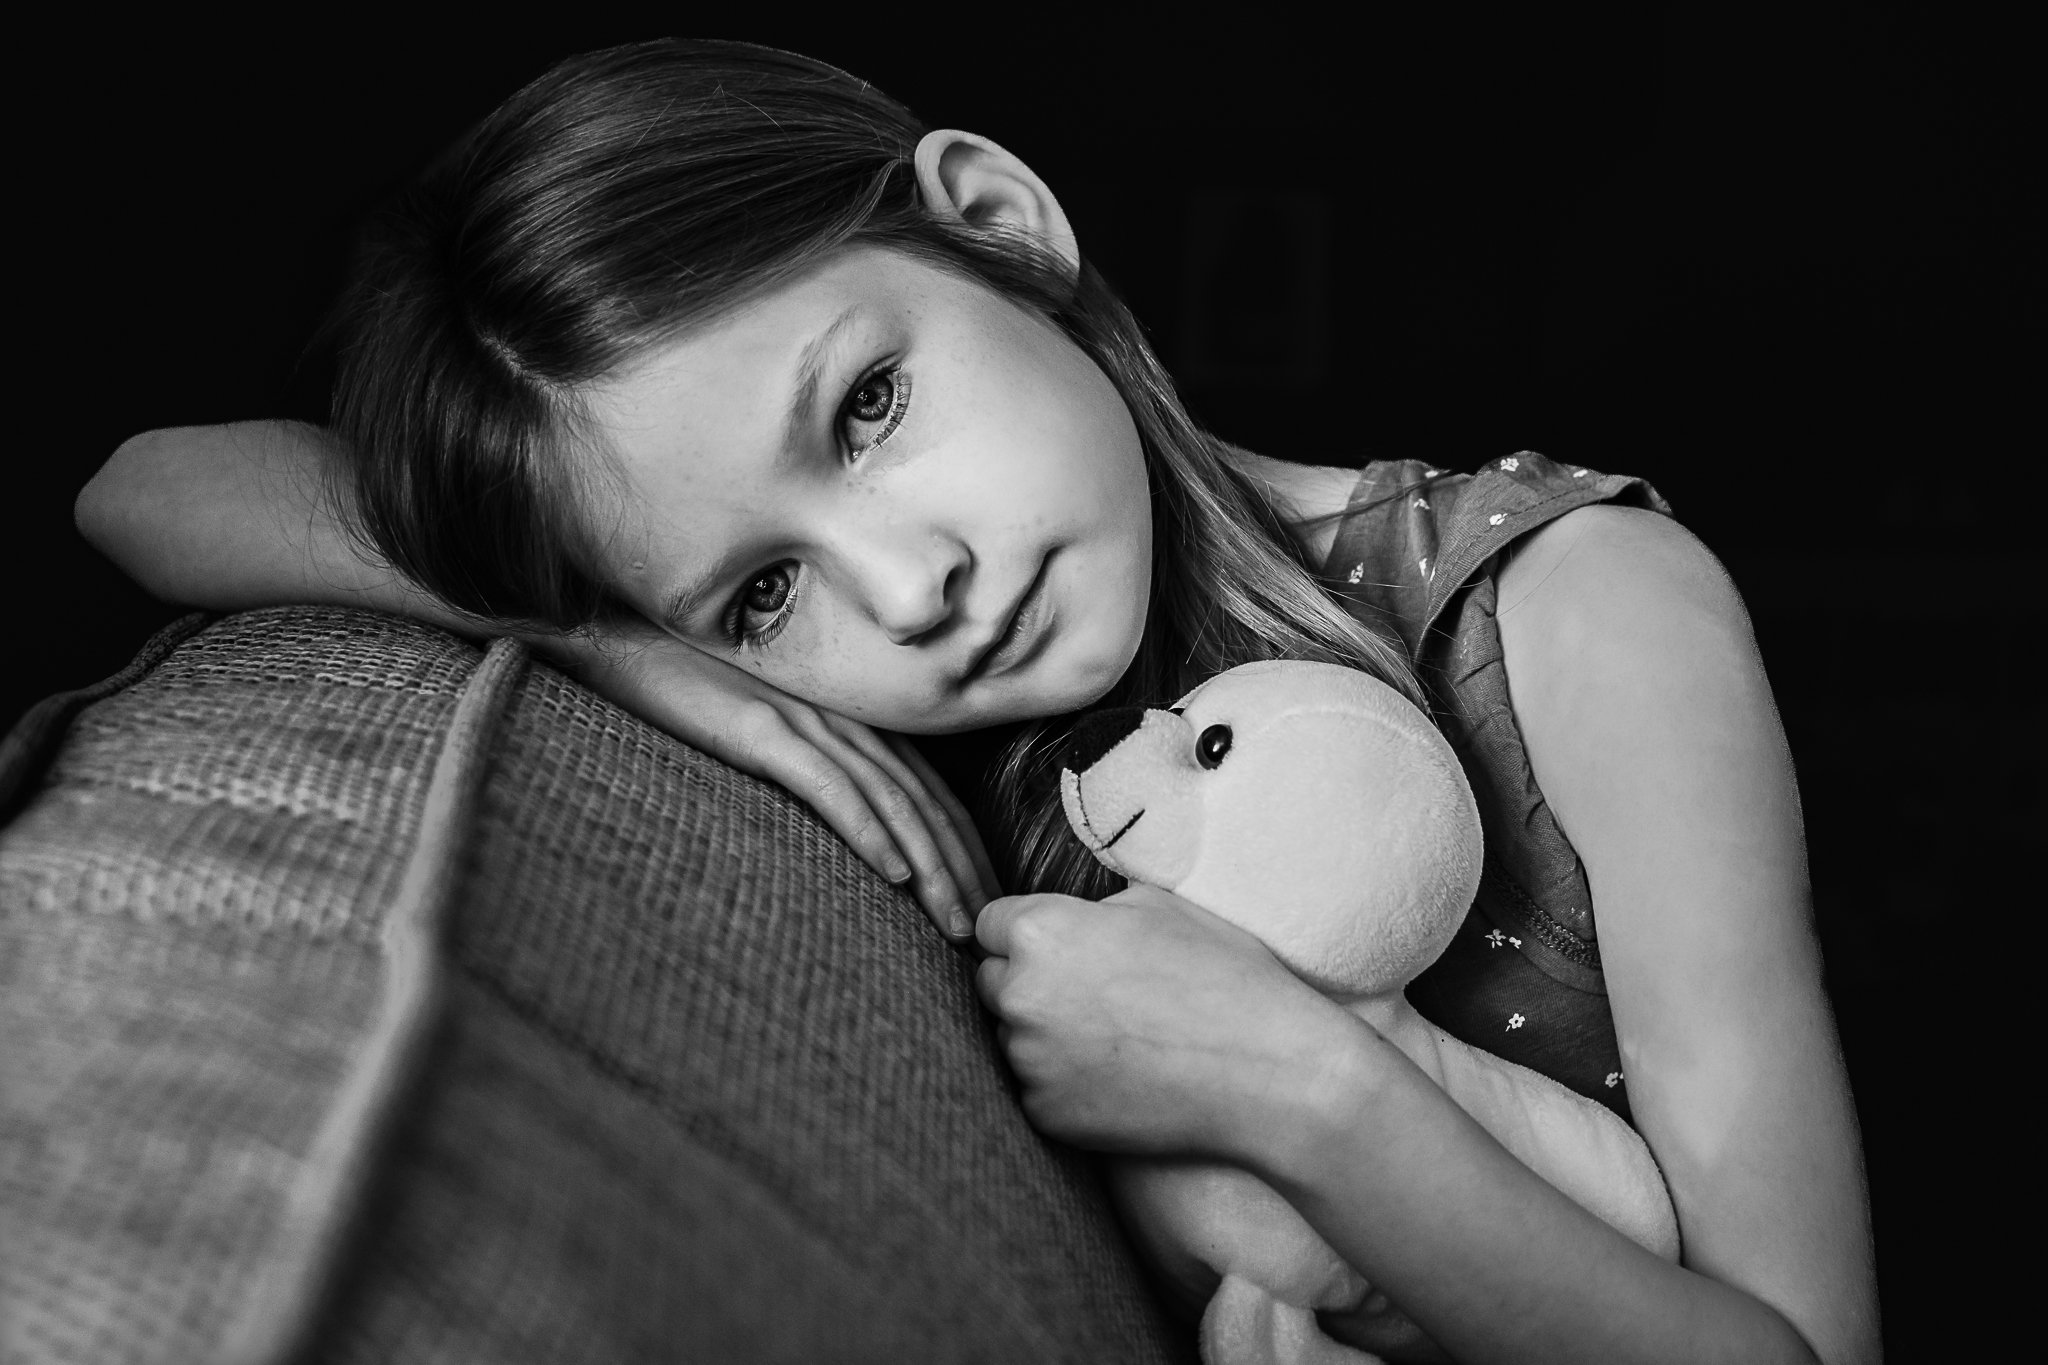
Tips for Eye-Catching Portraits | by Louise Harmston
Capturing eye-catching portraits goes beyond just pointing and shooting—understanding and utilizing light, color, and composition can make all the difference. Whether you're photographing your family at home or taking portraits outdoors, knowing how to work with available light, incorporate meaningful elements, and choose complementary colors will elevate your images. From reading directional light to enhancing your portraits through thoughtful editing, the following tips will give you the tools to take your portrait photography to the next level.
Know Your Light
Whether you are taking a portrait indoors or outdoors, you need to be able to read your available light and decide how to use it. Light will always be directional, even on a cloudy day outside, the light will be stronger from one direction and will often be partially blocked on one side by buildings or trees. Have a look around you and try to see the direction the light is coming from. Indoors this will be obvious as your light source is likely to be a single window. Outdoors you will need to look a little more carefully to see where the light is coming from. Once you have found the direction and strength of your light, you can then choose whether you want to backlight, side light or front light your subject and position them to achieve the look you want.
Use Personal Items to Tell a Story
Adding favourite or meaningful items into your portraits will tell the viewer something about that person and add an extra level of interest. Including your child’s favourite toy in portraits of them for example will help you remember that time in their life in years to come when the favourite toy has been forgotten about in the back of the wardrobe! You could also include favourite sporting items, musical instruments or that favourite t-shirt that they won’t take off. Maybe you have a special homemade blanket that you were gifted from a loved one. Take some portraits of your family snuggling up in it to add meaning to your photos and enhance the storytelling. Having other items in the frame also gives the people you are photographing something to interact with which can help to remove any awkwardness. The possibilities of what you could include are endless!
Choosing Colours and Backgrounds
When taking a portrait of someone it can be useful to think about the image as a whole and this includes the background too. When taking a portrait image, I will think about the colour I want in the background. I will often use a colour that has been specifically chosen to enhance the image. For example, I will chose to use a complementary, analogous or monochromatic colour scheme. In this photo below, I used a blue wall and blue clothing to create this monochromatic portrait.
Where I can’t change the background colour, for example outdoors, I will often make clothing choices that will complement the natural environment and enhance the final image. In this image below, I knew I was going to a sunflower field where there would be a lot of yellow, so I suggested my daughter wore a blue outfit and yellow cardigan which she was happy to wear as I knew this would work well for a complementary colour scheme. If you are working with children, encourage them to help you with your idea and get them involved in picking out the special outfit. They will then hopefully be more willing to go along with your plans!
Enhance your Portraits Through Editing
Adding the finishing touches to your portraits through post processing is an important final step. When shooting portraits, you will usually want your subject to be the brightest part of the image so that they stand out and the viewer’s eye is naturally drawn to them. You can achieve this by clever use of light but you can further enhance this during the editing process by lifting shadows and exposure on your subject and doing the opposite on your background. These changes should be subtle to avoid the image becoming unnatural but it should allow your subject to pop nicely from the background. Also, don’t forget to add some extra sparkle to the iris area of your subject’s eyes by using a brush and adding a little extra exposure and lifting highlights to really bring your portrait to life.
I hope you found these tips helpful. If you would like to go more in depth with learning about portrait photography, I have created a course called ‘How to Take Portraits: A Guide to Everyday Portrait Photography’ where you can learn how to use lots of different lighting techniques using natural light both indoors and outdoors. There are also chapters on different types of backgrounds, using the environment and personal items to tell a story, black and white portraits and editing.


