

Photography Editing Tips for Natural Results and Consistent Style
Photo editing is often where photographers feel the most uncertain. You might know your image has potential, but once you open your editing software, it’s easy to overdo it… or freeze because you’re not sure what to adjust first.
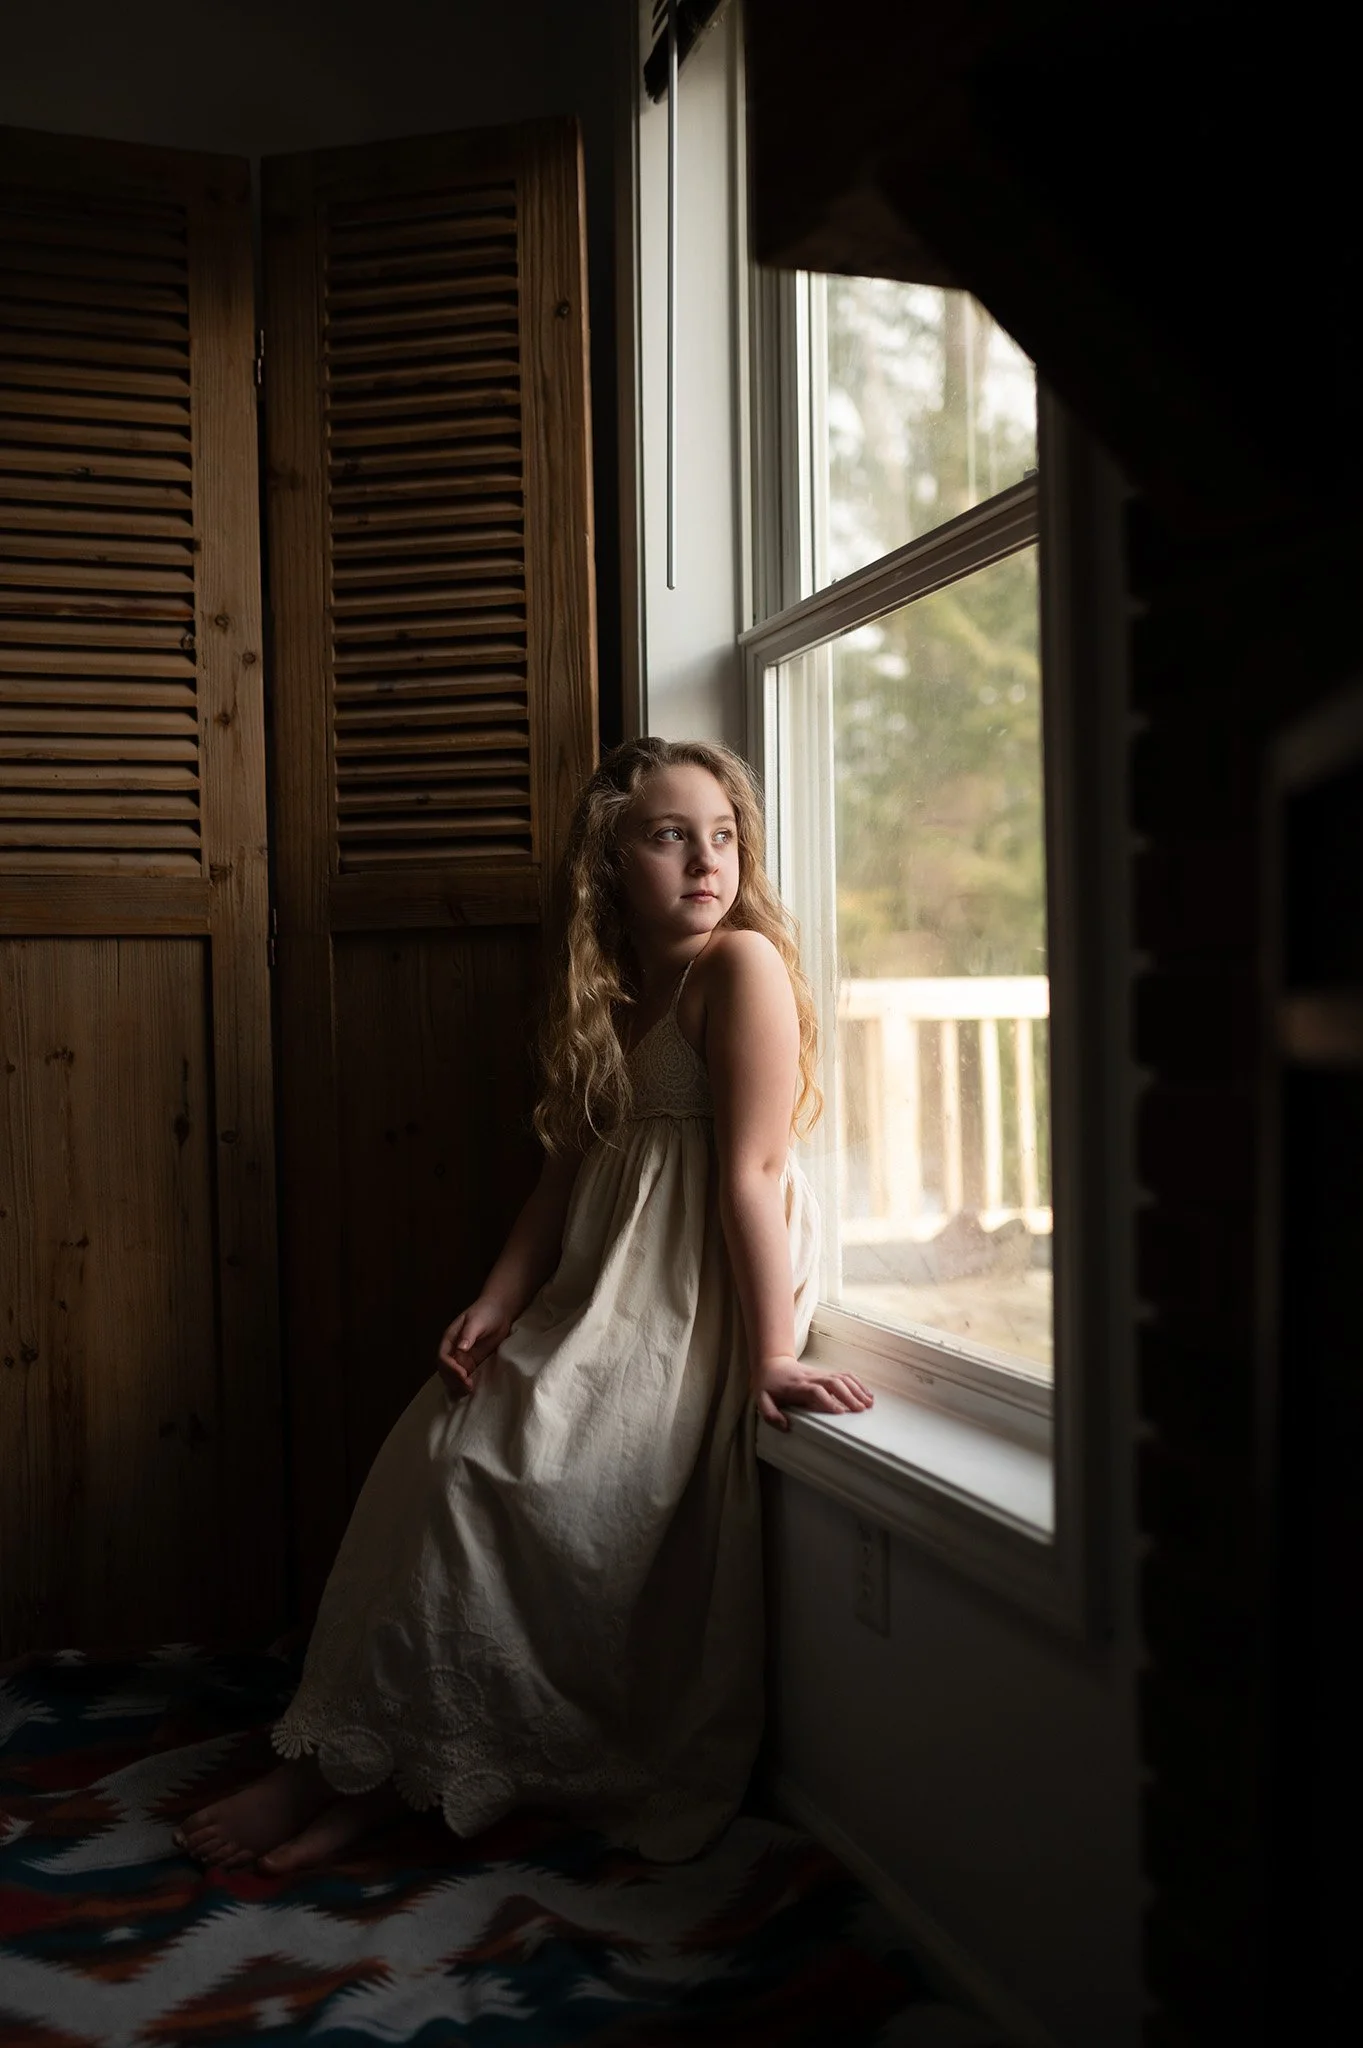
Strong editing starts with a simple goal: refine what’s already working. You fine tune the light, color, and composition you captured in-camera so the final image feels cohesive and natural.

Image by Laura Froese
Why Editing Matters in Photography
Editing is the final step in shaping a photograph.
Thoughtful editing helps:
Refine exposure and contrast
Guide the viewer’s eye
Create color consistency
Support mood and emotion
Develop a recognizable style
When editing feels overwhelming, it’s usually because there’s no clear process… just sliders and guesswork.

Image by Holly Awwad
Start With a Clean, Neutral Edit
One of the best editing habits you can build is starting with a clean foundation before you add “style.”
Begin with:
Exposure
Contrast and tonal balance
White balance
Simple corrections (crop/straighten, remove distractions)
A clean base edit keeps your results natural and makes it easier to stay consistent across a full set of images.
If you want a clear, step-by-step walkthough of Lightroom (an editing program used by Professional and Hobby Photographers), Unlocking Lightroom Classic is especially helpful. It walks you through tools and workflow so your edits feel intentional instead of random.

White Balance Sets the Tone
White balance affects everything from skin tones, to neutrals, and how believable your colors feel.
A few practical tips:
Adjust white balance early in your workflow
Watch the tint slider (it often fixes “sickly” or “muddy” color)
Aim for believable whites and natural skin before chasing a “look”
If portraits are part of your work, accurate and consistent skin tone editing is one of the biggest “level up” skills. That’s exactly what Editing Skin Tones Like A Pro focuses on! Learn how to get clean, realistic skin tones without going orange, gray, or over-smoothed.


Edit Exposure Before You Fine-Tune Color
Color can’t behave if exposure is off.
A simple order that keeps you out of trouble:
Exposure
Contrast / highlights / shadows
White balance
Color adjustments
When exposure is corrected first, your color edits become more accurate and controlled, and you’ll be less likely to over-saturate to “fix” a dull image.

Image by Laura Froese
Be Intentional With Color
Color is where style starts to show, but it’s also where edits can turn unnatural fast.
Instead of pushing every slider:
Focus on the few colors that matter most
Reduce distracting tones
Keep skin tones realistic
Use saturation carefully (especially with greens/yellows)
If you shoot outdoors or nature-heavy work, you’ve probably noticed how quickly greens can take over an image. Perfecting Greens is a great fit for photographers who want lush, natural greens that don’t look neon, muddy, or overly yellow.


Use Clarity and Texture Carefully
Clarity, texture, and sharpening can improve detail, but too much makes photos look harsh.
Try this approach:
Use clarity lightly (or selectively)
Apply texture where it supports the subject
Sharpen for purpose, not punch
If your edits often feel “crunchy,” reducing clarity/texture and balancing contrast usually brings things back to natural.

Image by Holly Awwad
Editing on Mobile vs Desktop
More photographers are editing on their phones than ever and mobile editing can absolutely produce beautiful results.
Mobile editing works best when you:
Keep your workflow simple and repeatable
Prioritize exposure + white balance
Avoid heavy filters and extreme saturation
Save your favorite settings as a starting point
If you want a streamlined, confidence-building workflow for editing and shooting with your phone, Your Guide to Mobile Photography is a great support for both shooting and editing mobile photos!

Mobile Image by Kristen Ryan
Create a Repeatable Editing Workflow
Consistency comes from process. A repeatable workflow helps you:
Edit faster
Make fewer “random” choices
Keep sets cohesive
Build a recognizable look over time
This is one reason Lightroom Classic is so widely used: once you understand the tools, you can create a process that supports consistent results across many photos (not just one).


Keep the Edit Supporting the Photo
The best edits support the subject and the story.
Strong edits tend to feel:
Natural in skin tones and whites
Controlled in highlights and shadows
Cohesive in color
Consistent across a full gallery
When your editing choices are intentional, your style becomes consistent without looking overprocessed.

Image by Kristen Ryan
Want To Learn More And Get Personal Feedback on Your Edits?
If you’d like guidance tailored to your images, our photography editing mentorships offer personalized feedback to help you refine your workflow, improve consistency, and feel confident in your final results.
👉 Learn more about our editing mentorships