The Skin Tone Editing Mistake Most Photographers Don’t Realize They’re Making | by Laura Froese

Why Skin Tone Editing Feels So Difficult at First
One of the hardest parts of learning photo editing is realizing that skin tones can be “wrong” even when they don’t immediately look wrong, or perhaps the opposite is true and it just looks off to you, but you don't know why!
Most photographers have experienced this at some point: you finish editing a gallery, feel pretty good about it, and then later notice the skin looks too yellow, too magenta, too grey, or strangely inconsistent from image to image. Sometimes you only notice once the photos are printed or viewed on another screen.
What makes skin tones especially frustrating is that our eyes adapt quickly. If you stare at an image long enough, your brain starts accepting the colour cast as normal.
That’s why learning to edit skin tones consistently is less about memorizing presets and more about understanding what you’re actually looking at.

How RGB Values Help You Edit Skin Tones More Accurately
One of the biggest shifts for me as a photographer was learning that Lightroom gives us actual numerical information about skin through RGB values. Instead of relying entirely on instinct, you can use those values to help determine whether your exposure and white balance are sitting in a believable range.
For example, when checking skin in Lightroom:
the R value largely relates to brightness/exposure,
the B value helps indicate warmth versus coolness,
and the G value helps reveal green or magenta imbalance.
Even understanding that at a basic level can make editing feel much less random.

The Best Lightroom Workflow for Natural Skin Tones
Another thing photographers often overlook is the order they edit in. If you constantly bounce between exposure, temperature, and tint adjustments, you end up chasing your own tail because every slider affects the others.
A much cleaner workflow is:
Exposure first
Temperature second
Tint third
That order alone can save a surprising amount of frustration.

Common Causes of Bad Skin Tones in Photography
Colour casts are another major issue, especially outdoors. Grass, brightly coloured clothing, nearby walls, or mixed indoor lighting can all reflect unwanted colour back into skin. Often the problem areas hide in small places like under the eyes, around the mouth, or in shadow creases rather than across the entire face.
Why Every Photographer’s Skin Tone Editing Style Looks Different
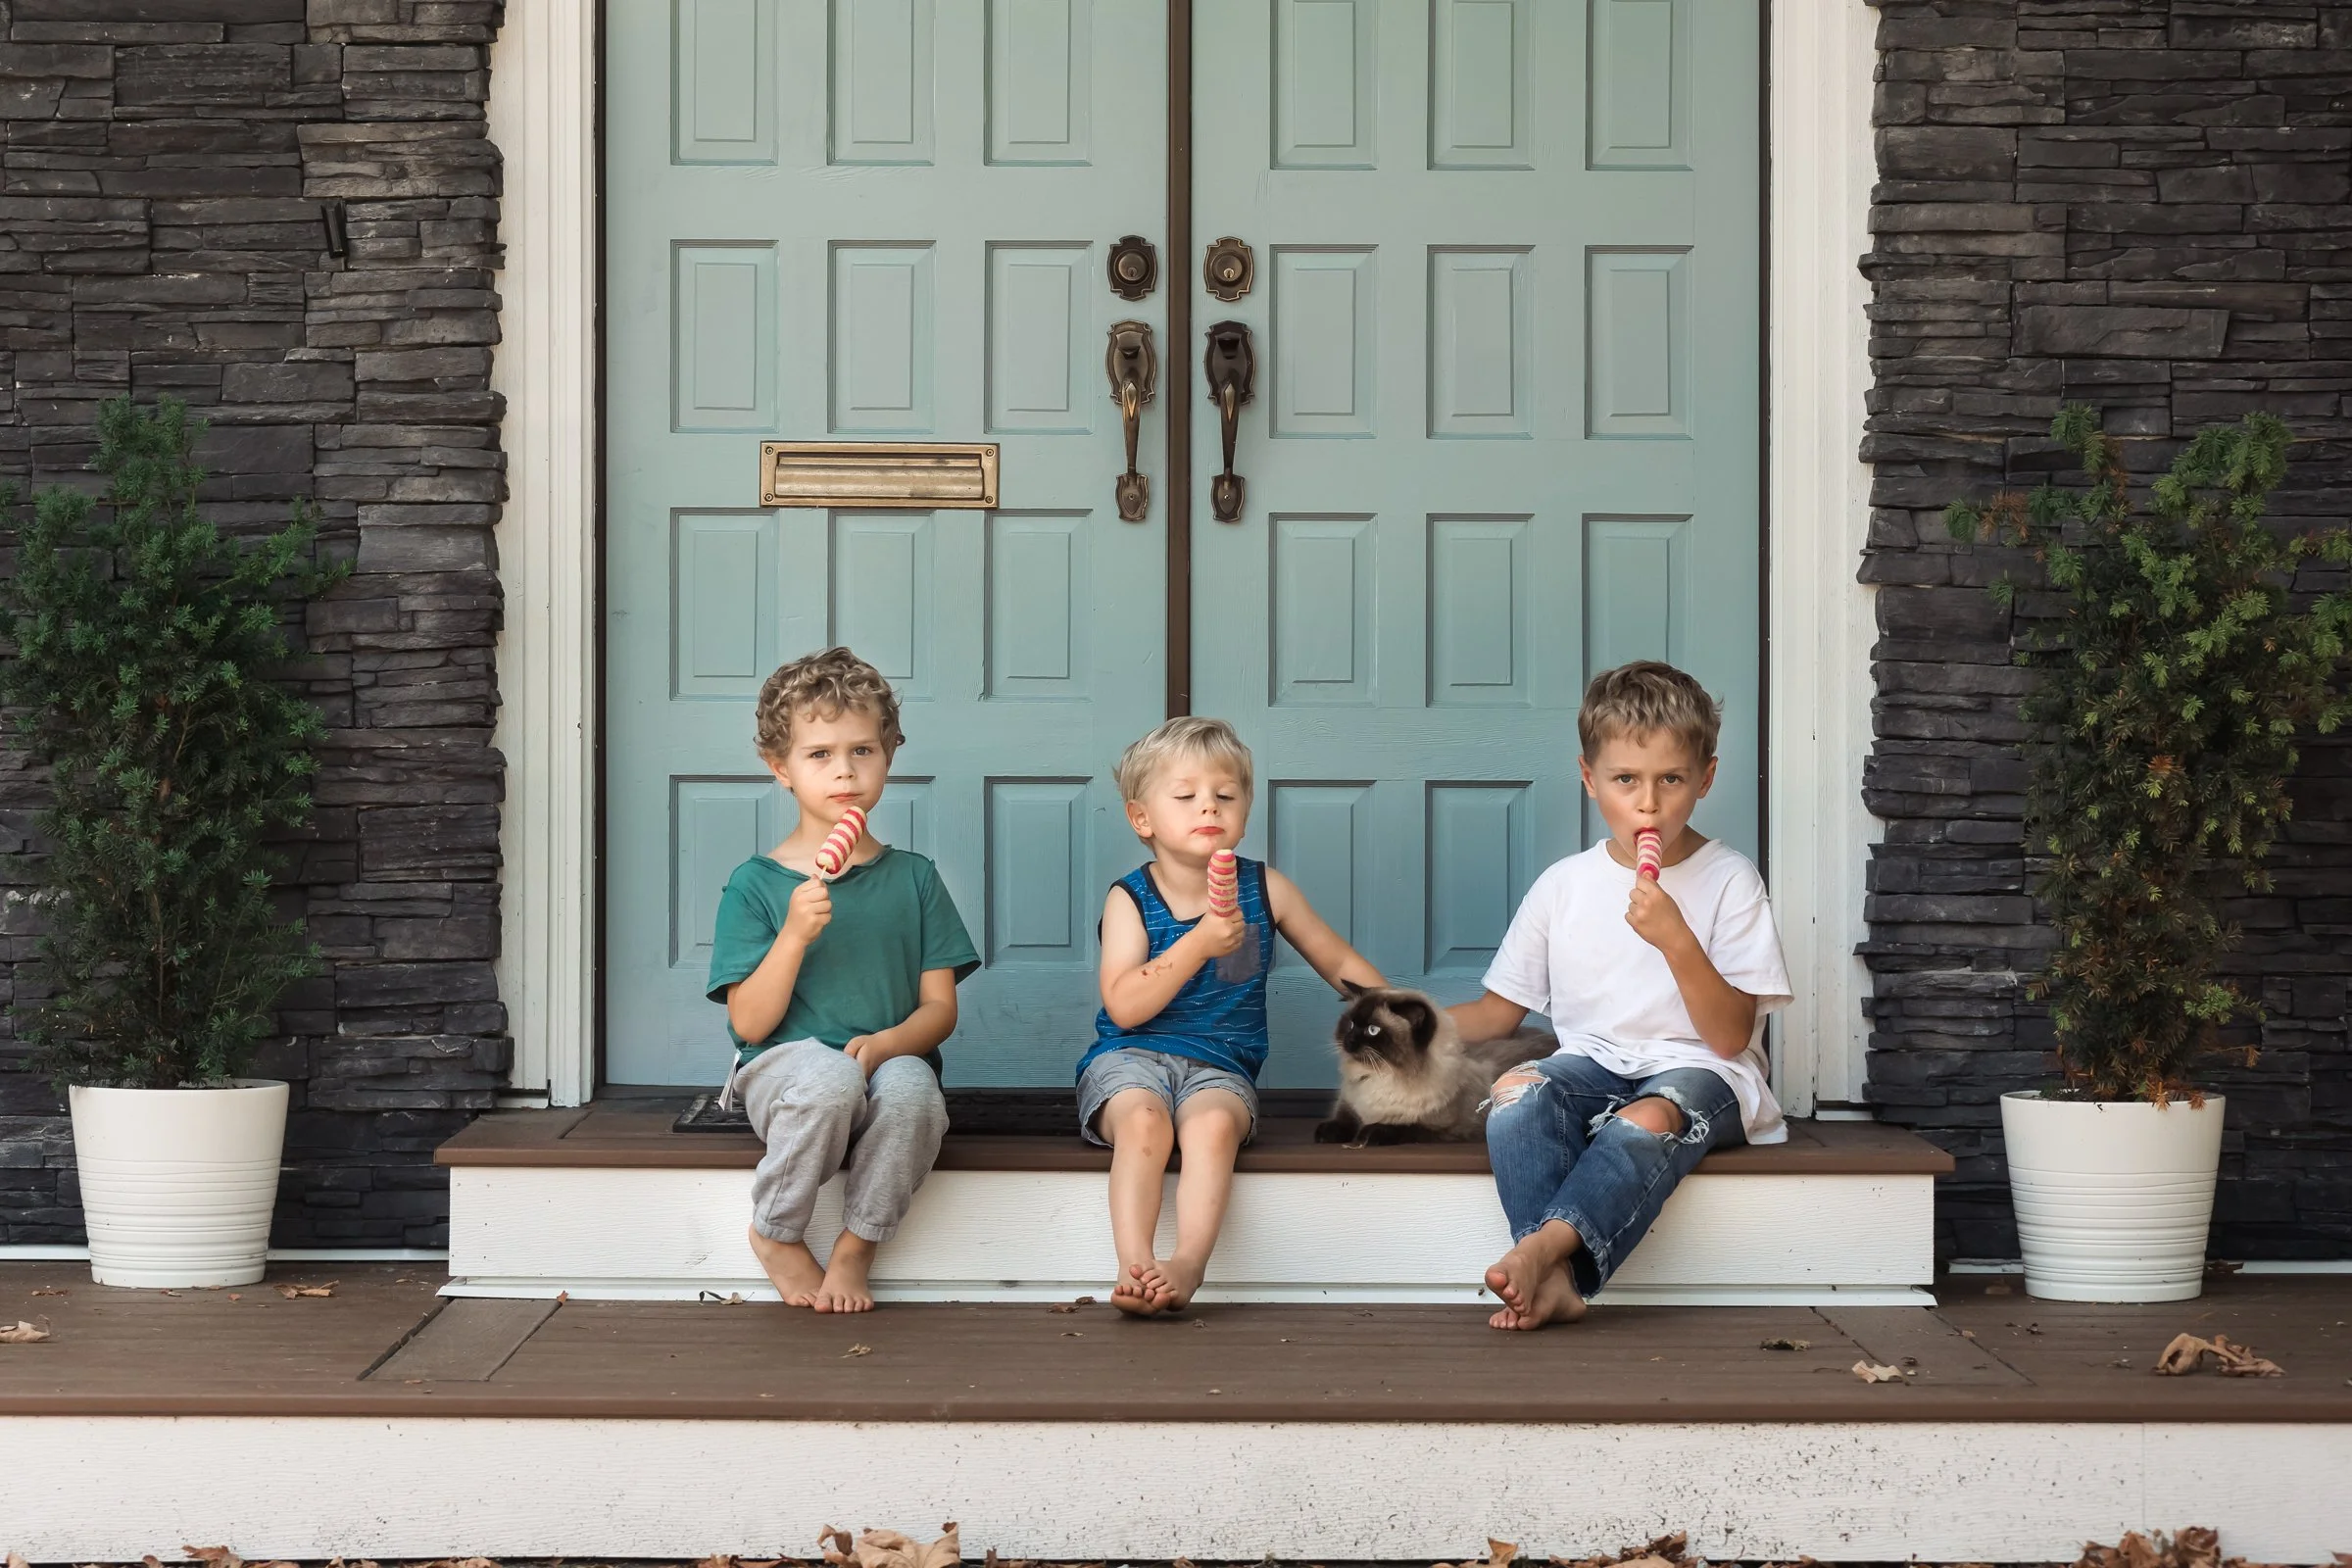
And despite what social media sometimes suggests, there usually isn’t one universally “correct” skin tone. Editing style still matters. Some photographers prefer warmer edits, others cooler or moodier ones. The goal isn’t to make every image identical but rather to create skin that feels believable and intentional within your style.
Editing Dark and Light Skin Tones Requires Different Approaches
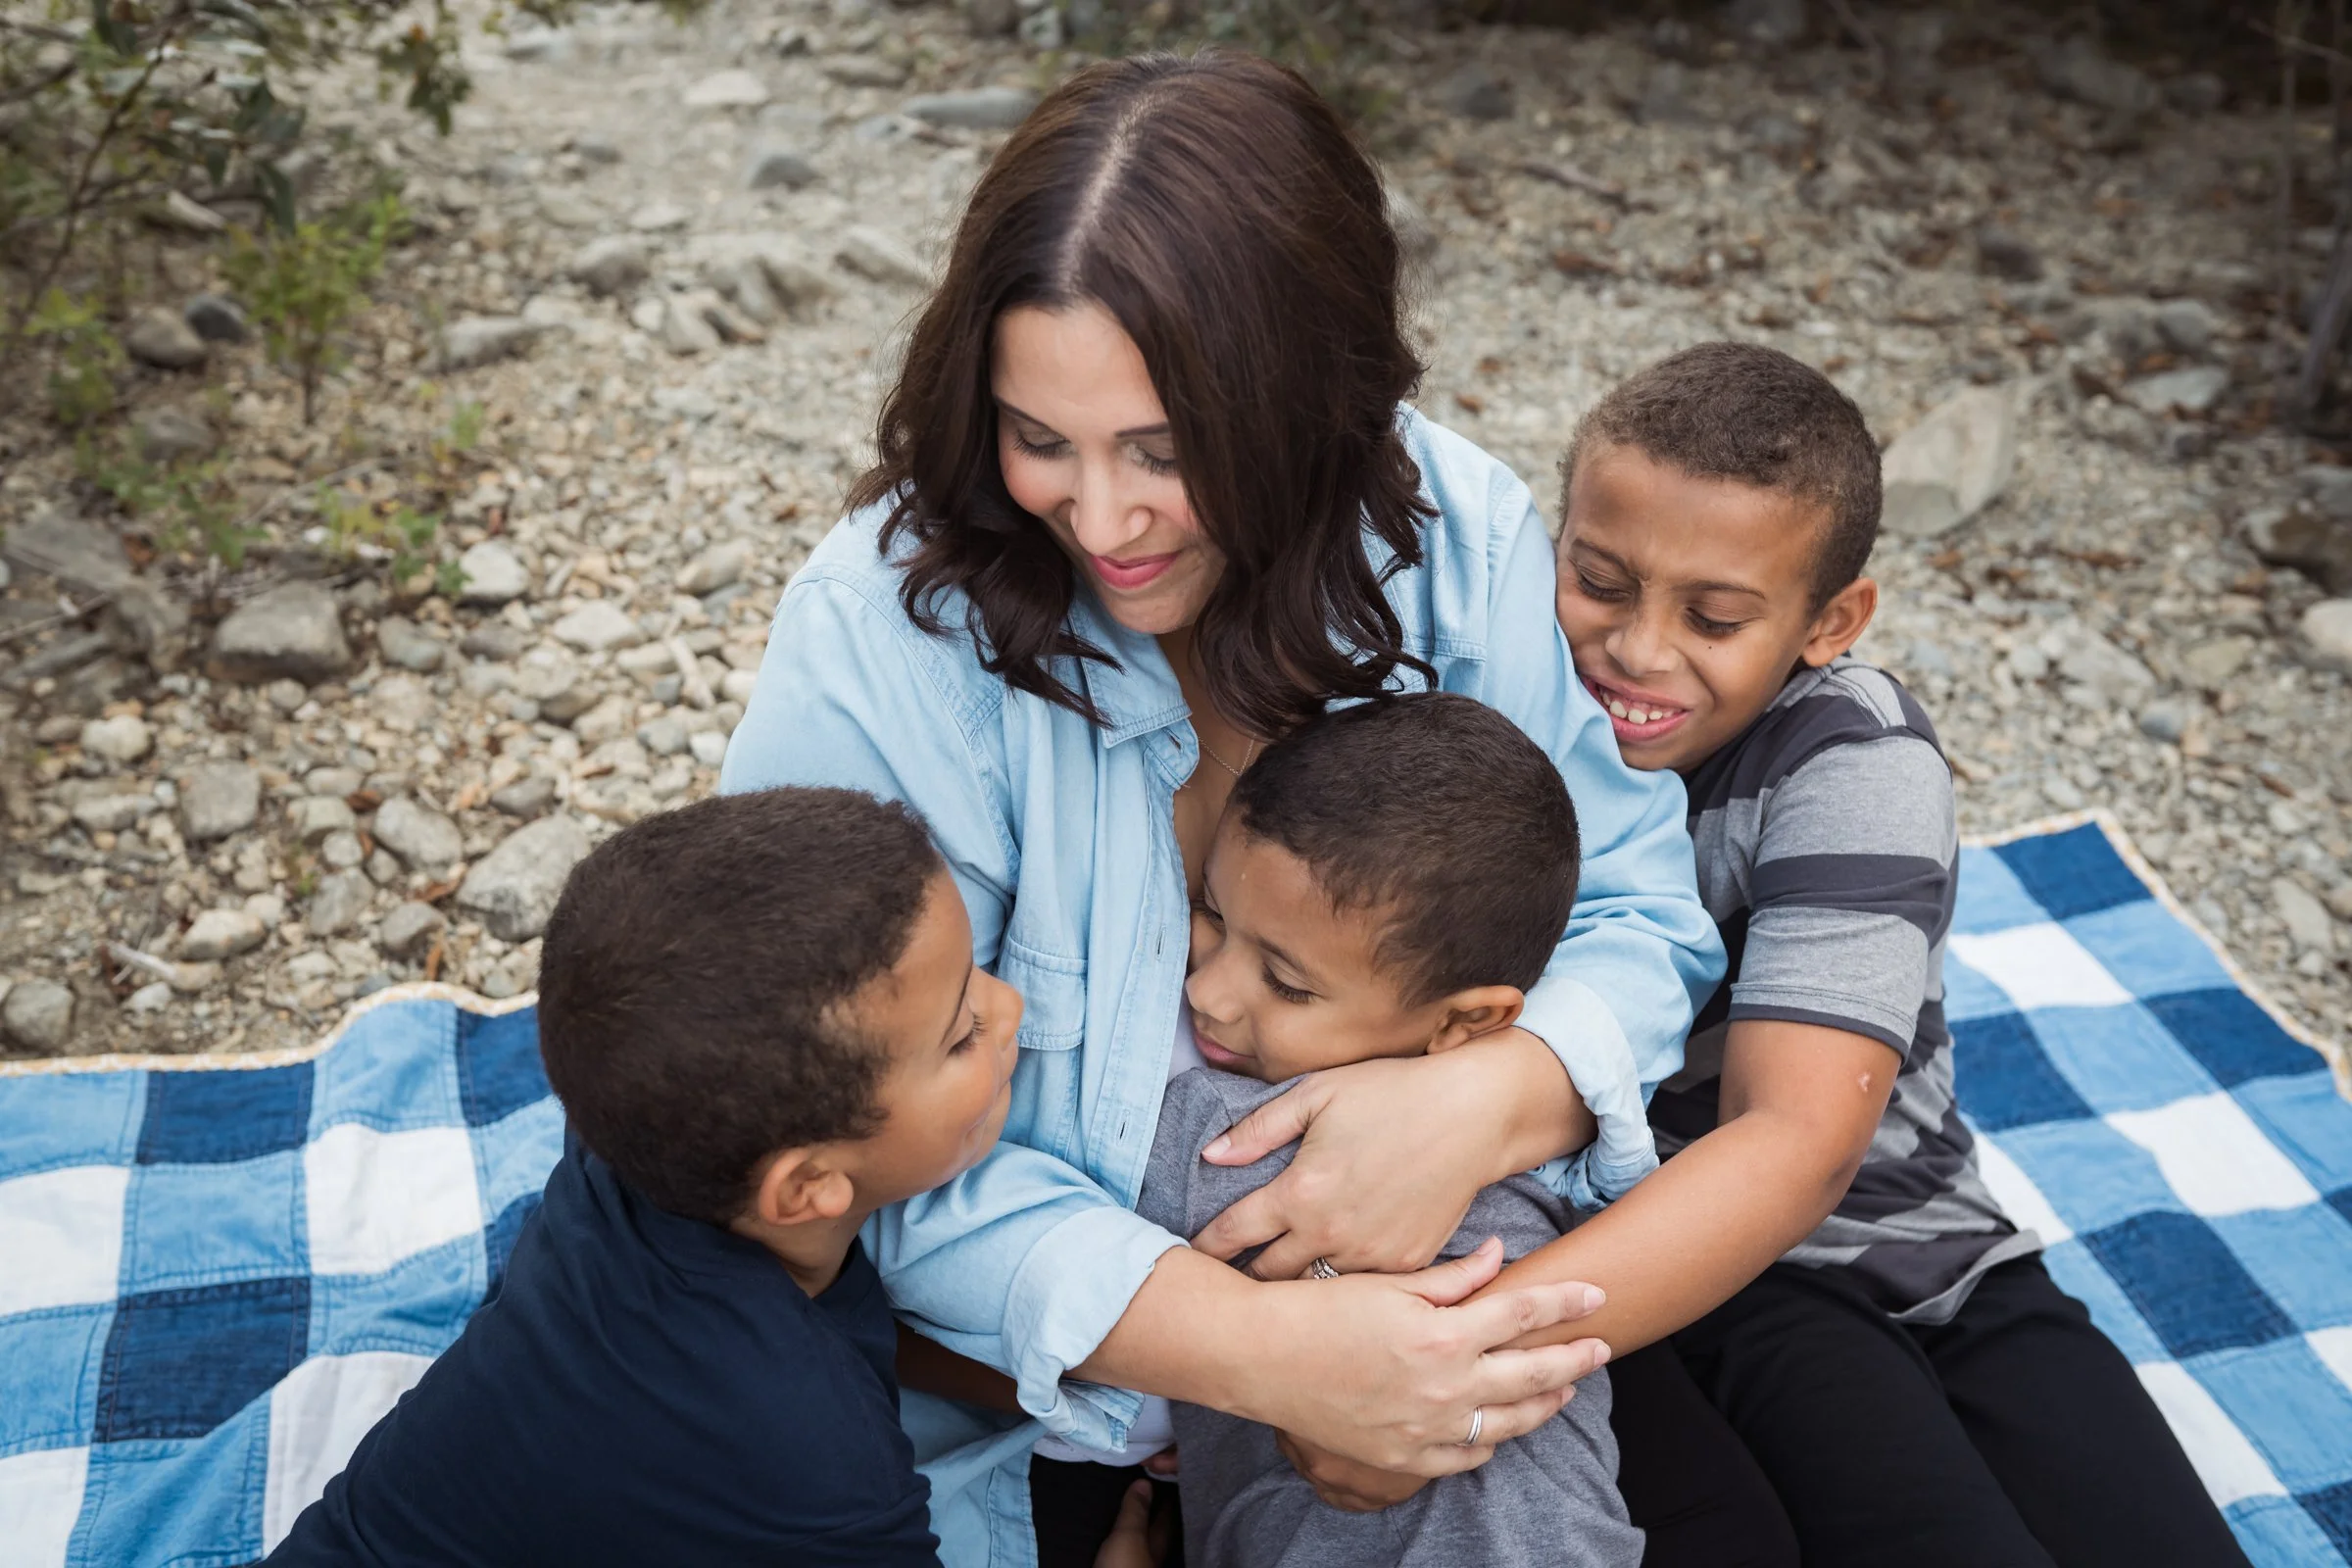
That’s also why darker and lighter skin tones cannot always be edited using the exact same approach. Different tones react differently to warmth, exposure, and colour balance, and understanding those differences makes a huge impact on consistency.

How to Improve Your Skin Tone Editing in Lightroom
The encouraging part is that this really does get easier with practice. Training your eye takes time, but once you understand why skin tones go wrong, you stop relying purely on guesswork.
If you want to go deeper into the actual Lightroom workflow, RGB “edit-by-number” techniques, troubleshooting colour casts, and working with different skin tones, that’s exactly what I teach inside my full skin tone editing course “Editing Skin Tones Like a Pro in Lightroom Classic”